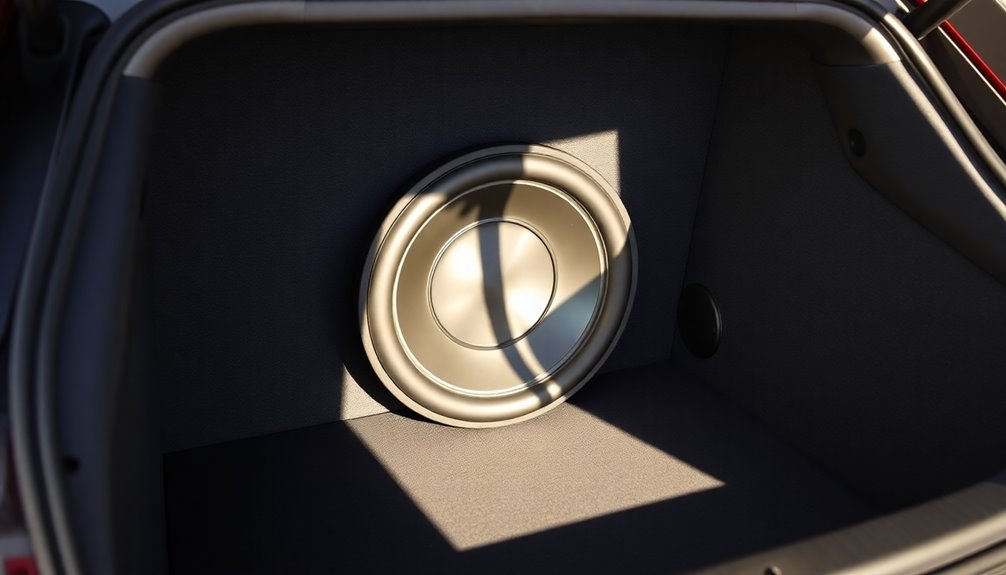
Soundproof Car Trunk From Subwoofer Vibration
To soundproof your car trunk from subwoofer vibrations, start with high-quality materials like Mass Loaded Vinyl (MLV) and butyl-based damping mats.
Apply these materials on the trunk floor, sidewalls, and lid, covering 25%-60% of the metal panels.
Next, consider adding closed-cell foam for moisture resistance and additional vibration absorption.
Ensure that all surfaces are clean for proper adhesion. Using peel-and-stick methods can help prevent air pockets from forming.
By strategically layering these materials, you can effectively minimize noise and enhance your audio clarity.
For further information, explore different installation techniques and product options available.
As an affiliate, I may collect a share of sales or other compensation from the links on this page.
Importance of Sound Deadening in Your Trunk
Sound deadening in your trunk can considerably enhance your driving experience. It greatly reduces noise levels in the cabin, leading to improved comfort. By minimizing structure-borne noise from road vibrations and engine rumble, you’ll notice a quieter ride. Treating the trunk floor and inside of the trunk lid is critical for effective noise reduction, especially in hatchbacks and SUVs. These materials dramatically lower road noise intrusion, enhancing the luxury feel. Additionally, a quieter trunk environment boosts audio quality, as it reduces unwanted vibrations, resulting in clearer sound from your audio system. This is particularly beneficial because effective noise reduction enhances overall driving experience. Furthermore, using sound-absorbing materials in your trunk can create a barrier against unwanted noise interference.
Core Materials for Effective Soundproofing
When planning effective soundproofing for your trunk, selecting the right core materials is essential.
Mass Loaded Vinyl (MLV) provides a dense barrier, requiring at least 1 lb per square foot for ideal sound blocking. This ensures that the MLV effectively repels sound waves, significantly enhancing the soundproofing capabilities of your setup. Additionally, MLV boasts a higher STC rating, which indicates superior sound isolation capabilities.
Butyl-based Vibration Damping Mats reduce structural vibrations, often applied to large flat surfaces for maximum effect.
Closed Cell Foam (CCF) cushions vibrations, preventing rattles while being moisture-resistant.
Fibrous and Composite Decoupling Materials, like ResoNix Fiber Mat, enhance vibration absorption and installation flexibility.
Finally, Thermal and Acoustic Insulation Liners combine soundproofing with temperature regulation, making them ideal for high-powered subwoofer setups.
Choose wisely for the best results.
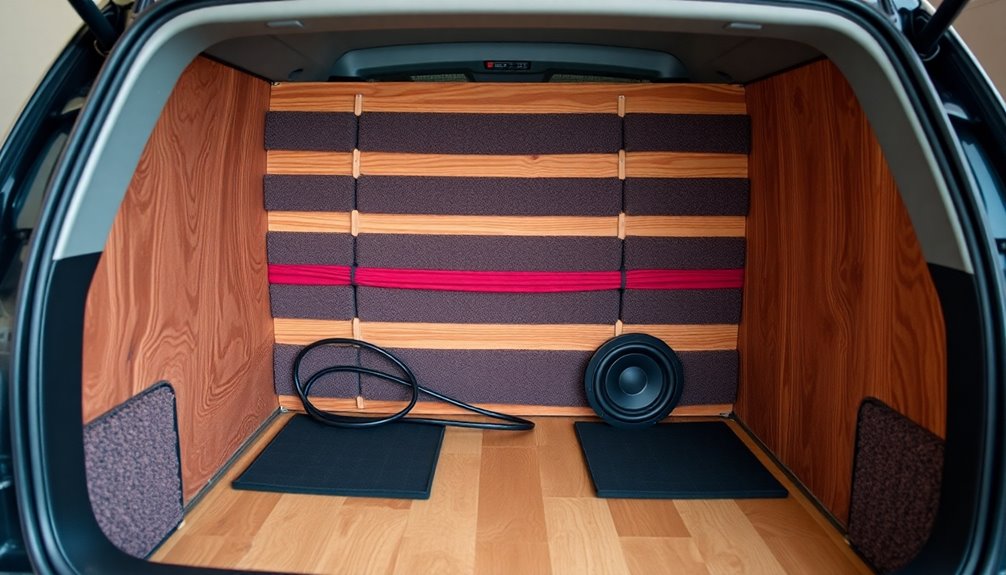
Strategies for Comprehensive Coverage
Achieving thorough soundproofing in your car trunk requires a methodical approach that targets specific areas and employs multi-layer materials.
Start with the trunk floor, sidewalls, and trunk lid, applying sound deadening mats to minimize resonance.
Don’t forget the wheel wells and rear gates to block noise from exhaust and road vibrations.
Use foam liners on plastic trims to absorb sound, and enhance insulation with butyl material and closed-cell foam above the trunk.
Cover 25%-60% of metal panels with butyl mats, layering with mass loaded vinyl and acoustic foam for effective decoupling.
Ensuring full coverage creates solid acoustic barriers, and incorporating sound deadening materials can significantly enhance the effectiveness of your soundproofing efforts.
Step-by-Step Installation Process
To begin the step-by-step installation process, you’ll first need to prepare your trunk by removing all items, including the spare tire, carpets, and trunk card.
Clean and dry all surfaces thoroughly to guarantee proper material adhesion. Assess the trunk’s state, focusing on areas like wheel wells and the lid.
Choose soundproofing materials, such as butyl rubber or asphalt tiles, ideally with a thickness of 2.3mm for effective absorption. In addition, consider utilizing anti-vibration pads to further minimize noise and vibrations from the subwoofer.
Safely tuck existing wiring and inspect for rust.
Finally, apply damping sheets directly to metal surfaces using a peel-and-stick method, guaranteeing complete coverage for maximum sound control while avoiding air pockets.
Types of Noise and Vibration Addressed
Soundproofing your car trunk effectively tackles various types of noise and vibration that can compromise audio quality and overall driving experience.
Key issues include:
- Mechanical vibrations from subwoofers causing rattles in panels and trim.
- Airborne noise from road and exhaust compromising sound clarity.
- Low-frequency sound-induced resonance amplifying vibrations in large panel areas.
- Structural noise resulting from poor enclosure design and mounting methods.
- Increased rattles due to repeated vibrations loosening fasteners.
Addressing these concerns guarantees clearer audio and enhances your driving comfort, making soundproofing a crucial investment for any audio enthusiast. Additionally, understanding the audio quality implications of your sound system can guide you in choosing the right soundproofing materials.
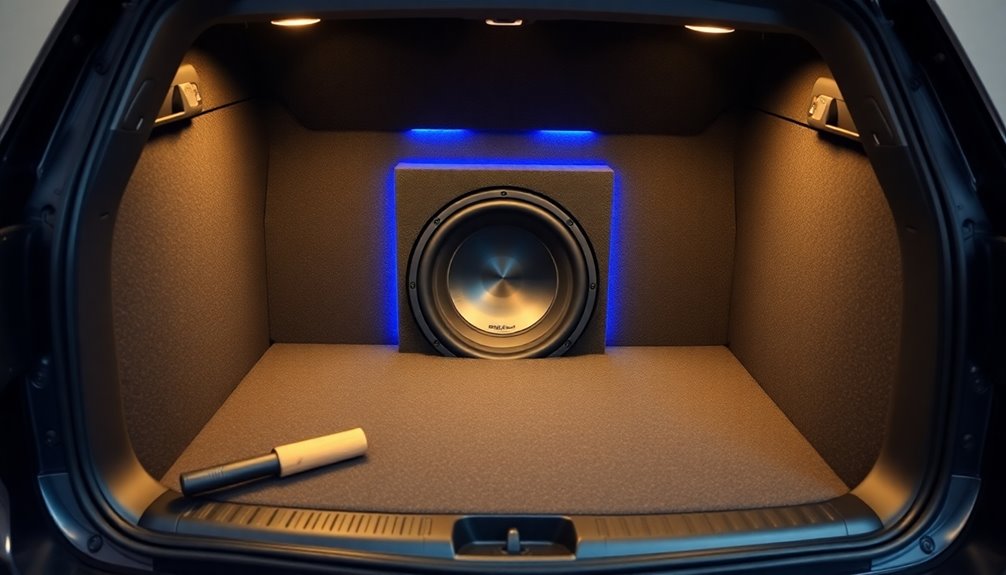
Popular Products for Trunk Soundproofing
When it comes to trunk soundproofing, several popular products stand out for their effectiveness and ease of use.
Constrained Layer Damping (CLD) products, like Resinix CLD squares, reduce panel resonance by up to 17 dB.
Butyl mat options, including Kilmat and Dynamat, provide thickness ranging from 80 to 150 mils, effectively damping vibrations.
Spray-on solutions, such as Boom Mat, reach areas traditional mats can’t, while multi-layer kits from brands like Second Skin Audio combine various materials for thorough noise control.
Foam and fiber absorbers enhance acoustic performance, particularly for mid-to-high frequencies, ensuring a quieter trunk environment.
DIY Alternatives and Considerations
While many enthusiasts prefer commercial soundproofing products, DIY alternatives can offer effective and budget-friendly solutions for trunk soundproofing.
Consider these materials and techniques:
- Mass loaded vinyl (MLV) adds density and reduces vibration.
- Butyl rubber mats effectively dampen vibrations on metal surfaces.
- Closed-cell foam insulates and layers well with damping materials.
- Recycled denim or cotton insulation is cost-effective for sound absorption.
- Clean surfaces thoroughly for better adhesion during installation.
Keep in mind safety, ventilation, and secure fastening when applying materials.
Multi-layer approaches often yield superior results, improving your soundproofing experience without breaking the bank.
Frequently Asked Questions
How Long Does Sound Deadening Installation Typically Take?
Sound deadening installation typically takes you about 4 to 6 hours for a sedan, while larger vehicles may require 6 to 8 hours. Pro installations can be quicker, often completed in 3 to 5 hours.
Can Soundproofing Materials Damage My Car’s Interior Finishes?
Yes, soundproofing materials can damage your car’s interior finishes if not chosen or applied carefully. Improper adhesives, moisture retention, and excessive thickness may lead to peeling, rust, or deformation of surfaces over time.
Will Soundproofing Void My Vehicle’s Warranty?
Soundproofing likely won’t void your vehicle’s warranty if done properly. Just guarantee you use non-invasive methods, avoid permanent modifications, and consider professional installation to minimize risks associated with warranty claims. Always check specific warranty terms.
How Much Does a Professional Soundproofing Service Cost?
A professional soundproofing service typically costs between $700 and $2,000+, depending on your vehicle size and the coverage you choose. Smaller cars are generally cheaper, while larger vehicles require more materials and labor.
Can I Remove Sound Deadening Materials Later if Needed?
Yes, you can remove sound deadening materials later if needed. It’s usually feasible, but expect potential residue and the need for cleaning. Using the right tools and techniques will make the process easier and cleaner.
Conclusion
To summarize, soundproofing your car trunk transforms it into a sanctuary, minimizing subwoofer vibrations.
By using appropriate materials, you create a barrier that absorbs noise, enhancing both your listening experience and driving comfort.
Each layer of sound deadening acts like a shield, protecting your vehicle from unwanted disturbances.
With careful installation and the right products, you’ll guarantee your car remains a harmonious space, allowing music to resonate while keeping external noise at bay.


