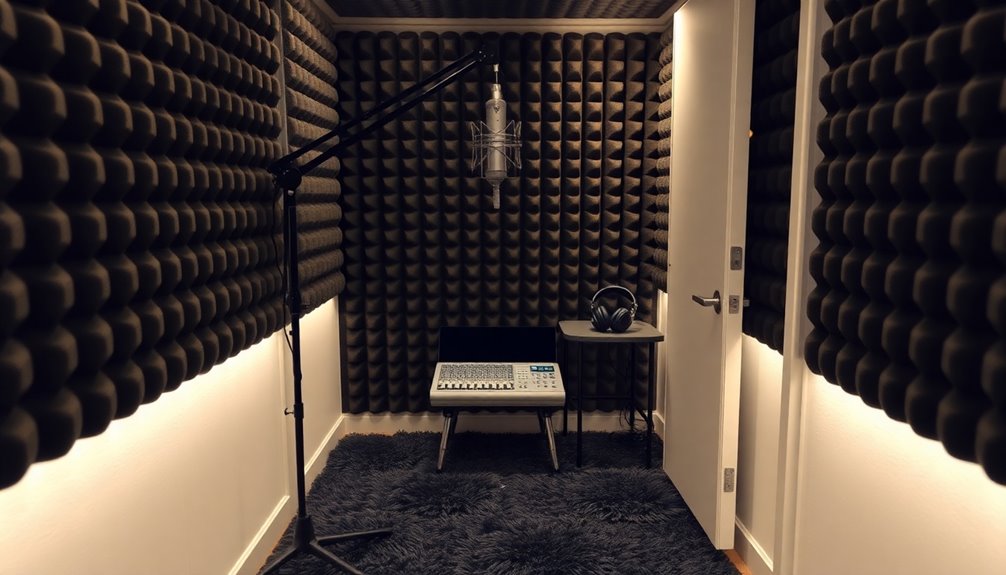
Soundproof Small Closet for Voiceover Recording
To soundproof a small closet for voiceover recording, start by focusing on dimensions of 3.5 feet by 5.5 feet or 4×4 feet with 8-9 foot ceilings.
Next, use effective soundproofing materials such as mass-loaded vinyl and acoustic wall insulation. It’s important to install absorption panels at the first reflection points and place bass traps in the corners to manage low frequencies.
Additionally, keep your equipment organized and ensure that computers are positioned away from the booth to minimize noise interference. Don’t forget to guarantee proper airflow within the space.
For a professional setup, consider exploring additional acoustic treatment options to enhance the overall sound quality.
As an affiliate, I may collect a share of sales or other compensation from the links on this page.
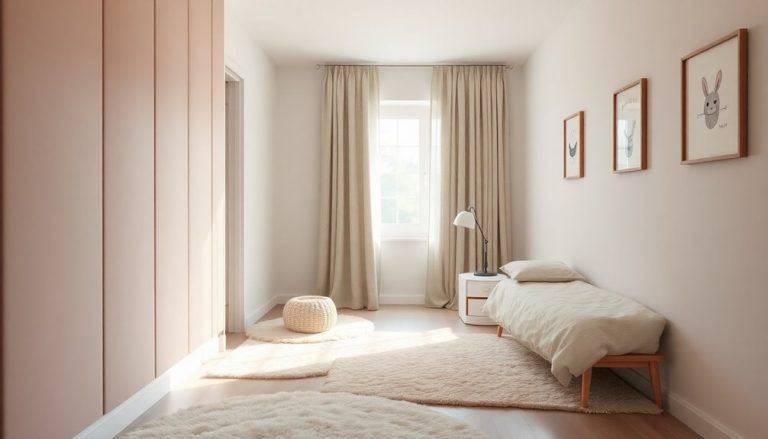
Selecting the Right Space for Your Closet Booth

When selecting the right space for your closet booth, what should you prioritize?
First, focus on dimensions. Aim for a size between 3.5 feet wide by 5.5 feet long or a 4×4 feet square, with an 8-9 foot ceiling for standing comfort. Additionally, ensure that the closet has good acoustic treatment options to manage sound reflections effectively. Adding mass to the walls can further enhance soundproofing, creating a more optimal recording environment.
Make sure you clear any shelves or clutter to optimize airflow and usable space.
Next, consider wall and floor types. Plaster and drywall reflect frequencies, so plan for acoustic treatment.
Finally, check for solid core doors to minimize sound leakage.
Essential Soundproofing Materials
Choosing the right soundproofing materials is essential for creating an effective voiceover recording environment in your closet booth.
Heavy, dense materials like mass-loaded vinyl and additional layers of drywall block sound transmission effectively. Use acoustic wall insulation, such as Rockwool Safe’N’Sound, to dampen mid and high frequencies. Acoustic batts are particularly effective when framed with fabric, providing additional sound absorption. Incorporate sound-absorbing materials to prevent sound reflections and enhance overall acoustics.
Incorporate damping compounds between drywall layers to convert sound energy into heat, reducing vibrations. Staggered wall studs and floating floor systems prevent direct sound transmission.
For cost-effective solutions, consider cellulose paper-based wool or bunched towels, which can absorb sound energy while being budget-friendly.
Select materials that combine mass, density, and absorption for ideal results.
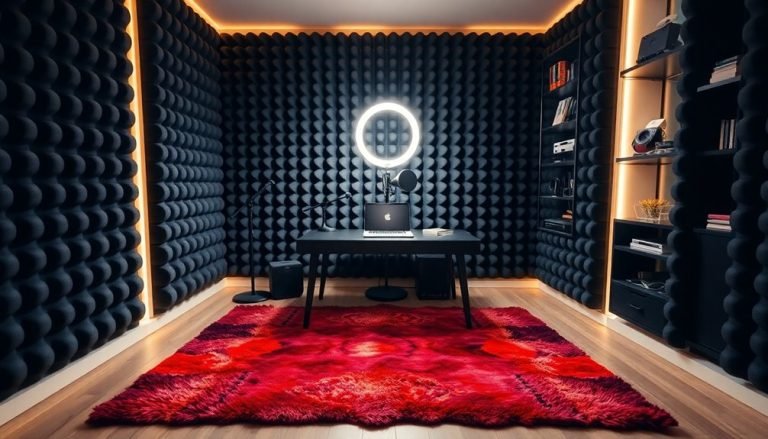
Techniques for Acoustic Treatment Installation
Effective installation of acoustic treatments in your small closet demands a strategic approach to guarantee ideal sound quality.
Start by placing absorption panels at first reflection points on walls to reduce early reflections. Install ceiling panels to control sound bounce. Use push pins or double-sided tape to secure panels without damage.
Incorporate bass traps in corners to absorb low frequencies, using thicker materials for effectiveness. Implement air gaps behind blankets for increased absorption. Acoustic panels at reflection points help reduce reflective sound for clearer audio.
Balance absorption with selective diffusion panels to maintain clarity. Test and adjust placements based on sound recordings, ensuring an optimized acoustic environment that enhances your voiceover work.
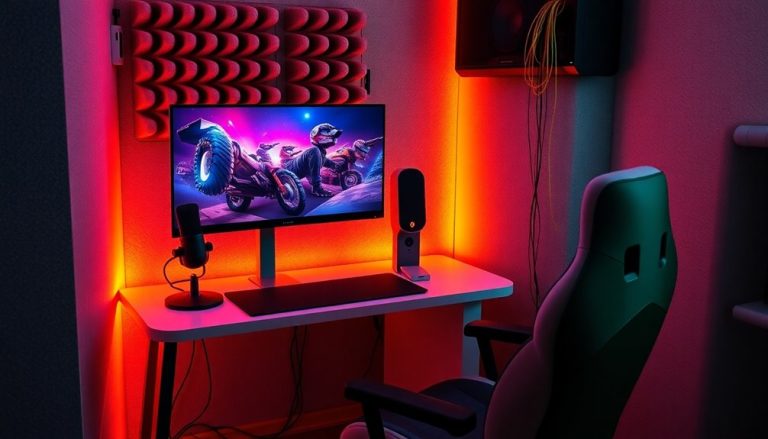
Equipment Placement for Optimal Sound Isolation
To achieve ideal sound isolation in your small closet for voiceover recording, start by strategically positioning your recording setup.
Place your equipment in the most isolated section, away from windows, vents, and doors. Use built-in shelving for organization, keeping the area clutter-free. Avoid noise sources by positioning gear on padded surfaces.
Keep computers outside to minimize fan noise, controlling them remotely. Utilize a mic stand with shock mounts to prevent vibrations.
Position your microphone away from reflective surfaces, optimizing the cardioid pattern. Maintain a distance of 6–12 inches from the mic for the best vocal capture and clarity. Additionally, consider using sound-absorbing panels to further reduce sound reflection and enhance the acoustic performance of your recording space.
Achieving Desired Noise Reduction Levels
Achieving desired noise reduction levels in your small voiceover closet requires a clear understanding of your recording environment’s acoustics. Aim for a noise floor below -60 dB for clarity. Target NC levels of 15-20, which indicates minimal ambient noise. Use dense materials like mineral wool or acoustic foam to absorb sound effectively. Seal gaps and doors tightly to prevent leakage. Consider double-wall construction to block low frequencies. Measure ambient noise with sound level meters or DAWs to verify your noise floor. Additionally, incorporating mineral wool’s soundproofing capabilities can significantly enhance the overall acoustic performance of your recording space.
Enhancing Sound Quality in Your Recordings
While setting up your voiceover environment, it’s vital to focus on sound quality to secure professional results.
Position acoustic treatment panels on walls and corners to absorb mid to low frequencies, minimizing reflections. Use a cardioid microphone 8–12 inches from your mouth for peak clarity. Incorporate a pop filter to reduce plosives, enhancing vocal quality.
Adding thick carpets and soft furnishings helps absorb ambient noise and flutter echoes. Declutter the closet to limit secondary sound sources, and seal gaps around doors to block external noise.
This preparation guarantees clean audio, significant for a successful recording session.
Additional Equipment for a Professional Setup

Investing in the right equipment can greatly enhance your voiceover recordings. Use a condenser microphone for its sensitivity and tonal detail. Pair it with a pop filter to minimize plosive sounds.
A shock mount will isolate your microphone from vibrations. For stability, opt for microphone stands or boom arms. Connect your mic to an audio interface with XLR cables for quality sound transfer.
Choose an interface that supports various mic types, like the Focusrite Scarlett. Finally, use closed-back headphones to isolate audio and guarantee you hear subtleties in your recordings.
This setup will elevate your voiceover quality considerably.
Maintaining Your Soundproof Closet Booth
A well-maintained soundproof closet booth is essential for achieving high-quality voiceover recordings.
Regular cleaning, using compressed air for equipment, and a soft paintbrush for microphone grilles helps prevent dust buildup.
Inspect acoustic panels for compression or mold, as damaged materials can degrade sound quality.
Verify your ventilation system is clear, checking filters and ducts to maintain airflow.
Inspect electrical connections to eliminate noise and verify proper grounding.
Finally, check door seals and structural integrity to prevent sound leaks.
These maintenance tasks extend your equipment’s lifespan and guarantee consistent, quality recordings.
Regular upkeep is key to peak performance.
Frequently Asked Questions
Can I Use My Closet for Other Purposes After Soundproofing?
Yes, you can still use your closet for other purposes after soundproofing. With temporary solutions, you can easily remove treatments, allowing you to switch between recording and storage as needed without permanent alterations.
How Long Does It Take to Set up a Soundproof Closet Booth?
It can take anywhere from a few hours to several days to set up a soundproof closet booth. The exact time depends on your materials, skill level, and any structural changes you plan to make.
What Is the Cost Range for Soundproofing a Small Closet?
You can expect to spend between $500 and $1,500 for basic soundproofing in a small closet. For more advanced treatments, costs might rise to $1,000 to $3,000 depending on materials and modifications.
Do I Need a Professional to Soundproof My Closet?
You don’t necessarily need a professional to soundproof your closet, but their expertise guarantees better results. If you’re confident and budget-conscious, DIY methods can work for basic soundproofing without extensive remodeling.
How Often Should I Maintain My Soundproof Closet Booth?
Think of your booth like a finely-tuned instrument; you should maintain it every few months. Regular inspections, cleaning, and sealing gaps keep it performing at its best, ensuring sound isolation remains effective and reliable.
Conclusion
Creating a soundproof closet for voiceover recording transforms an ordinary space into a professional studio. By selecting the right materials and implementing effective acoustic treatments, you can achieve significant noise reduction and enhanced sound quality.
It’s fascinating how a small investment in soundproofing can yield such professional results. With careful planning and strategic placement of your equipment, you can maximize the effectiveness of your soundproofing efforts.
With proper maintenance, your soundproof booth can serve as a reliable environment for high-quality recordings for years to come.