Acoustic Panels Placement for Podcast Quality
To enhance podcast quality, place acoustic panels strategically. First, identify first reflection points by using a mirror at ear height to find where sound reflects.
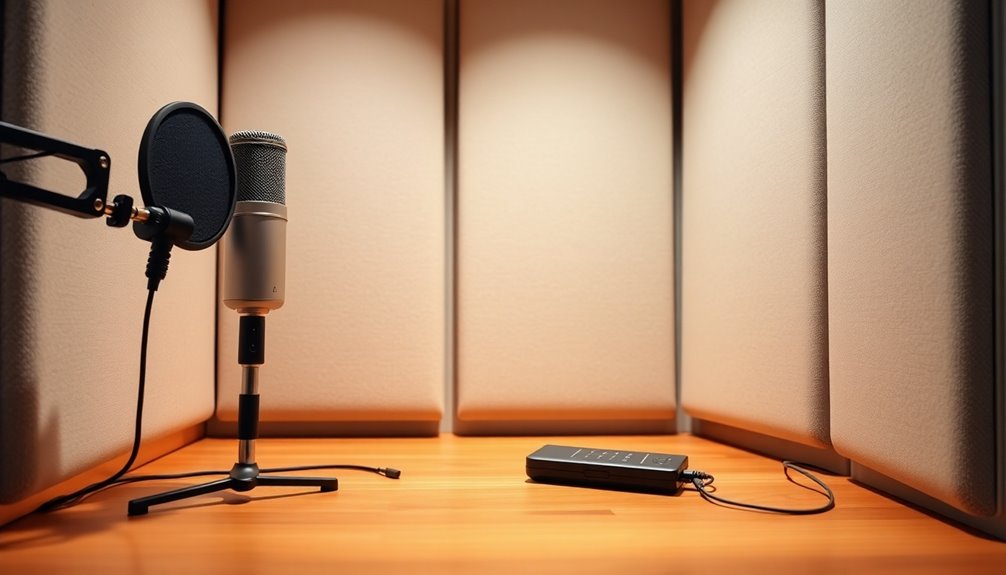
Next, treat areas behind the microphone to reduce echoes by using large, thick panels. Position bass traps in corners to effectively absorb low frequencies.
Additionally, install panels at ear level on walls and above the recording area to limit reflections. This ensures consistent sound absorption, leading to improved vocal clarity.
As you proceed, you’ll uncover more strategies to further enhance your podcasting setup.
As an affiliate, I may collect a share of sales or other compensation from the links on this page.
Identifying First Reflection Points

Identifying first reflection points is essential for optimizing sound quality in your podcasting space. These points are locations on walls, ceilings, or floors where sound reflects directly to your microphone or ears. You can locate them by using the mirror test; hold a small mirror at ear height and slide it along surfaces. When you see the sound source, mark that spot. Measure distances to enhance accuracy; the reflection point lies halfway between the source and the reflective surface. Placing acoustic panels at these identified points helps to effectively intercept reflections, minimizing unwanted echoes and improving clarity in your recordings. Understanding sound reflection is crucial for ensuring that your acoustic treatments are placed in the most effective locations. Additionally, using acoustic panels at these points is a recommended method for enhancing sound clarity in your podcasting environment.
Treatment Behind the Microphone
How can you greatly enhance your podcast’s sound quality? Treatment behind the microphone plays an essential role in reducing sound reflections from the rear wall.
By minimizing these reflections, you prevent echo and reverb, improving vocal clarity and intelligibility. Use larger panels, ideally 2′ x 4′, and guarantee they’re at least 2 inches thick for effective absorption. Acoustic treatment is crucial for maintaining high sound quality, especially in podcasting. Proper treatment can significantly reduce background noise that can detract from your recordings.
Position them directly on the wall at ear height, spanning the width behind the microphone. Opt for fiberglass or mineral wool panels for superior performance.
This strategic placement results in cleaner recordings, maintaining a professional sound even in untreated spaces.
Effective Bass Trap Placement
Effective bass trap placement is essential for achieving ideal sound quality in your podcast recordings. Start by positioning floor-to-ceiling bass traps in corners, where low frequencies accumulate, to absorb resonances.
Use traps at tri-corners to intercept low-frequency waves effectively. Consider placing traps slightly away from walls to enhance absorption.
Don’t overlook ceiling corners and behind furniture for additional treatment. For smaller rooms, verify traps are at least 4 inches thick, incorporating an air gap for improved performance. Additionally, employing both porous absorbers and tuned traps can maximize low-frequency control in your setup.
Prioritize thorough corner and mid-wall coverage to manage pressure nodes and enhance overall audio clarity and quality.
Wall and Ceiling Coverage Strategies

To achieve ideal sound quality in your podcast space, strategically placing acoustic panels on both walls and ceilings is crucial. Here are three effective strategies:
- First Reflection Points: Place panels at ear level on side walls to intercept early reflections, reducing echo and enhancing clarity.
- Coverage Behind Listener and Speakers: Install panels behind the listener and speakers to absorb escaping sound waves and minimize interference.
- Ceiling Treatments: Position panels above the recording area to limit vertical reflections, targeting flutter echoes and reverberation time. Additionally, incorporating sound-absorbing materials can further enhance the effectiveness of your acoustic treatment.
These strategies guarantee consistent sound absorption, creating a balanced acoustic environment for peak podcasting.
Microphone and Equipment Placement
When setting up your podcast, proper microphone and equipment placement greatly impacts audio quality.
Maintain a distance of 4 to 6 inches (10–15 cm) from your mouth to avoid distortion. Position the microphone at a 45-degree angle to reduce plosives and harsh sounds.
Use a sturdy microphone stand or boom arm for stability and consistent placement. This prevents shifts that could affect sound quality.
For dynamic speakers, adjust your distance based on voice projection, but keep a stable mic position.
Finally, place microphones away from noisy equipment to minimize background noise interference, ensuring clearer recordings. Additionally, consider using sound dampening materials to further enhance audio clarity by reducing unwanted echoes and reverb.
Soundproofing and Additional Room Treatment
Proper audio quality relies not just on microphone placement but also on how you treat your recording space.
Effective soundproofing and room treatment enhance your podcast’s clarity. Here are three key strategies:
- Use thick materials: Curtains or blankets can cover walls, reducing reverb effectively.
- Install acoustic panels: Place them strategically across from blank walls and at first reflection points for the best absorption.
- Add insulation: Mineral wool or fiberglass in walls traps sound waves, minimizing noise transmission between rooms.
Implementing these techniques will markedly improve your podcast’s audio quality.
Portable Acoustic Solutions for Small Setups
Portable acoustic solutions serve as essential tools for achieving high-quality sound in small podcast setups.
Lightweight panels, typically sized 2×2 to 2×4 feet, use breathable fabrics over absorptive cores like fiberglass or mineral wool, ensuring effective sound absorption. You can easily transport and position these panels due to their simple construction with staples or nails.
For added versatility, consider reversible surfaces for absorption and diffusion. To optimize sound quality, place panels close to the microphone and use mic stands to hang blankets or panels.
These strategies help create a conducive recording environment without permanent installations, perfect for shared spaces.
Optimizing Panel Height and Quantity
Achieving ideal sound quality in podcast recording spaces hinges on the effective placement of acoustic panels, particularly their height and quantity.
- Position panels 4 to 6 feet high to target mouth height and absorb vocal reflections effectively.
- Start with a minimum of 3 panels: one behind the microphone, one on the side wall, and one ceiling-mounted above the speaker.
- Scale the number of panels based on room size; larger rooms benefit from additional panels to maintain balanced acoustics.
Enhancing Clarity in Vocal Recordings
To enhance vocal clarity in your podcast recordings, focus on minimizing echoes and reverberation within your recording space.
Acoustic panels effectively absorb sound waves, reducing disruptive reflections from hard surfaces like concrete or tile. Position panels at first reflection points to maximize absorption, and use bass traps in corners to mitigate low-frequency muddiness.
Incorporate portable vocal booths for isolated environments, further enhancing clarity. Combining these treatments with directional microphones improves focused voice capture.
Frequently Asked Questions
How Do I Know if My Panels Are Effective?
You can know your panels are effective by measuring noise reduction, checking for less echo, and noticing improved speech clarity. Conduct tests before and after installation to quantify and confirm the acoustic improvements in your space.
Can I Use Regular Foam Instead of Acoustic Panels?
Since regular foam absorbs only frequencies above 500 Hz, it isn’t ideal for full-spectrum sound control. You can use it, but for better clarity and depth, acoustic panels are the smarter investment for podcasting.
What Materials Should I Avoid for Sound Treatment?
You should avoid materials like untreated wood, thin foam, regular curtains, and cheap polyester. These don’t absorb sound effectively, degrade quickly, or can even pose fire hazards, compromising your sound treatment efforts.
How Does Room Shape Affect Sound Quality?
Imagine a garden; the shape of your room acts like its layout. Just as uneven paths disrupt growth, a room’s shape can distort sound. Choose wisely—irregular shapes nurture clear audio, while rectangles may trap unwanted echoes.
Will Plants Help With Acoustic Treatment?
Yes, plants can help with acoustic treatment. Their leaves absorb sound, and their varied shapes scatter noise effectively. By strategically placing them, you’ll enhance sound quality while enjoying the added aesthetic benefits in your space.
Conclusion
To sum up, proper acoustic panel placement markedly enhances podcast quality. Research shows that strategically positioning panels can reduce echo by up to 70%.
By identifying first reflection points, treating areas behind microphones, and optimizing bass trap placement, you create a clearer sound environment. Ensuring adequate wall and ceiling coverage further contributes to vocal clarity.
For small setups, portable solutions offer flexibility while maintaining sound integrity. Implement these strategies to achieve professional-level audio in your recordings.


