Soundproof Home Recording Booth Under $300
To build a soundproof home recording booth under $300, start by selecting your materials. Consider using acoustic foam panels, moving blankets, and mineral wool for effective sound absorption.
For the structure, utilize 1-inch Schedule 40 PVC pipes. You can construct frames that are either 3x3x6 feet or 4x4x8 feet to suit your space requirements.
To further enhance sound absorption, hang heavy blankets spaced away from the walls.
As for essential recording equipment, a Focusrite Scarlett Solo priced at $99, along with a Shure SM57 microphone, which is also around $99, will help you achieve a professional sound quality.
By following these guidelines, you can create an effective recording environment. Continue on for more detailed setup techniques.
As an affiliate, I may collect a share of sales or other compensation from the links on this page.
Choosing the Right Materials for Your Booth
When building a soundproof home recording booth, selecting the right materials is essential. Acoustic foam panels, especially open-cell foam, provide excellent sound absorption. For effective mid to high frequency control, choose panels 1 to 4 inches thick. Additionally, a vocal booth is crucial for minimizing external noise and maximizing sound quality, ensuring professional-grade recordings. Mineral wool, like Rockwool Safe N Sound, is superior for lower frequencies, ideally installed with an air gap for better absorption. The integration of soundproof drywall can also enhance the overall effectiveness of your booth’s sound isolation. Mass-Loaded Vinyl (MLV) blocks airborne noise, acting as a barrier when placed behind drywall. Additionally, soundproof blankets and heavy drapes offer flexible, temporary solutions. Combining these materials improves overall sound isolation, ensuring a more effective recording environment within budget constraints.
DIY PVC Pipe Frame Construction
Constructing a DIY PVC pipe frame for your soundproof home recording booth offers a practical and cost-effective solution. Follow these steps for a solid structure:
- Materials: Use 1-inch Schedule 40 PVC pipes, 90-degree elbows, and Tee couplers. The mass loaded vinyl can be integrated into your booth design for enhanced soundproofing.
- Dimensions: Common sizes include 3x3x6 feet or 4x4x8 feet; cut vertical poles to 78 inches for 6.5-foot height. For frames larger than 78W x 78L, add vertical supports every 26 inches to ensure stability.
- Assembly: Start with a squared base, insert vertical poles, then attach the top frame. Ensure stability by adding middle supports and crossbars, especially for larger frames.
Cut pipes accurately, and consider gluing joints for added strength.
Utilizing Moving Blankets for Sound Absorption
Utilizing moving blankets for sound absorption can greatly enhance the acoustic environment of your home recording booth.
These blankets, made of woven cotton, polyester, fiberglass, and mineral wool layers, feature a dense, multi-layer construction that minimizes sound passage. Heavier blankets are recommended for improved noise reduction. While they won’t achieve 100% soundproofing, they effectively dampen midrange and high frequencies. Installing them with two-inch spacing from walls increases sound dampening, reducing echo and outside noise. Moving blankets are a budget-friendly alternative to acoustic foam, providing clear audio recordings without the high costs of professional treatments. Additionally, their heavyweight construction makes them particularly effective for sound absorption in various settings.
Optimizing Closet Spaces for Recording
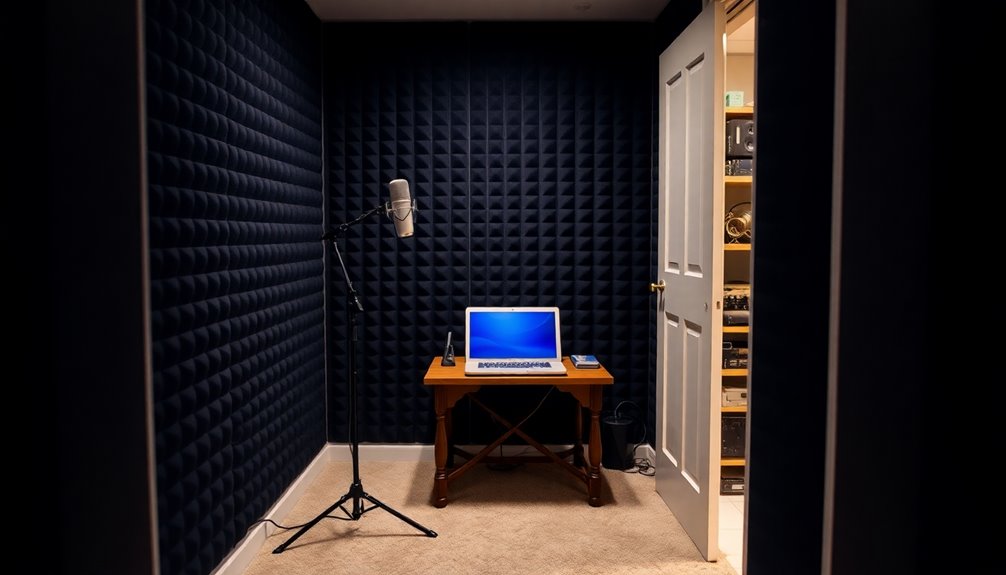
To create an effective recording environment, you can transform a closet into a soundproof booth by implementing specific soundproofing techniques.
Consider these steps:
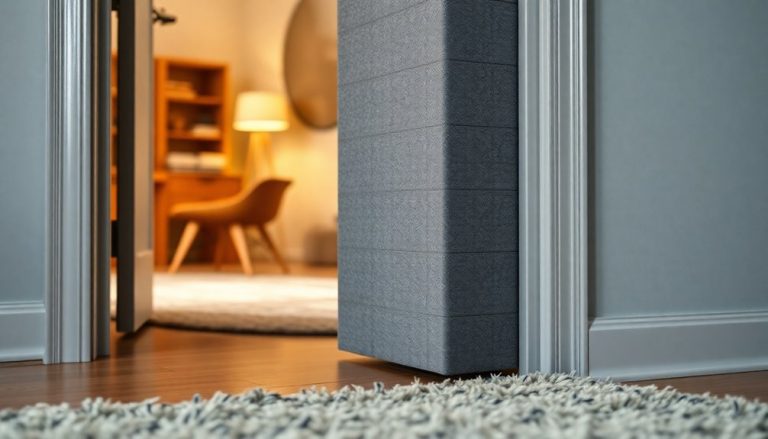
- Seal the Door: Use adhesive weatherstripping and install a door sweep to block sound from gaps.
- Wall Treatment: Attach acoustic panels and add insulation, like fiberglass, for ideal sound absorption.
- Interior Absorption: Fill the closet with soft materials, like clothes or blankets, to minimize echo. Additionally, incorporating soundproof curtains can absorb external noises entering the closet.
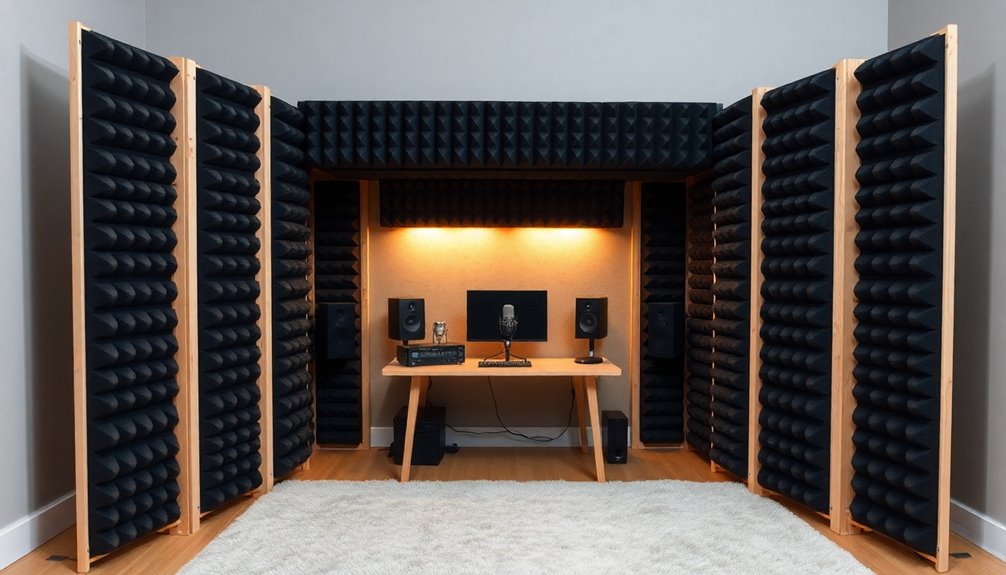
Building a Portable Desktop Sound Booth
Building a portable desktop sound booth offers a practical solution for recording in environments where sound quality is paramount.
Start by constructing a PVC frame with 3/4″ or 1″ pipes, ensuring stability with connectors. Use four foam seat cushions, approximately 18″ square, to create a five-sided enclosure.
Attach grommeted acoustic blankets to the frame, overlapping them for sound sealing. Inside, install 2″-3″ thick acoustic foam panels for improved absorption.
Place your microphone on a desktop stand, keeping noisy equipment away. This DIY setup, costing under $300, allows customization and enhances recording quality effectively. Additionally, incorporating mass-loaded vinyl can further improve sound absorption in your booth.
Essential Recording Equipment Under $300
Creating a home recording studio on a budget requires careful selection of essential equipment. Here’s a concise list to guide your choices:
- Audio Interface: Consider the Focusrite Scarlett Solo at $99 for one mic channel or the 2i2 for dual inputs under $200.
- Microphone: The Shure SM57 dynamic mic, priced around $99, excels in untreated spaces, while the SM7B offers professional quality at $170.
- Monitoring: Opt for Sennheiser HD 280 Pro headphones at $99 for accurate sound, or budget-friendly Apple EarPods at $19 for basic monitoring.
These selections keep you within the $300 limit.
Sound Absorption Techniques Versus Isolation
Sound absorption and isolation serve distinct purposes in home recording environments, each addressing specific acoustic challenges.
Absorption materials, like foam and mineral wool, convert sound energy into heat, primarily targeting mid to high frequencies. Aim for 30-40% coverage for ideal clarity, reducing echoes and reverberation.
In contrast, isolation techniques prevent sound transmission through walls and ceilings, utilizing dense materials and airtight sealing. Methods like decoupling structures enhance effectiveness.
While absorption improves internal acoustics, isolation guarantees external noise control. Understanding these differences allows you to create a balanced recording space that meets both clarity and privacy requirements effectively.
Tips for Effective Setup and Disassembly
When you set up a home recording booth, efficiency is key to maximizing your time and resources.
Follow these tips for effective setup and disassembly:
- Use Lightweight Materials: Choose modular elements, like acoustic blankets and portable frames, for easy transport and assembly.
- Standardized Fasteners: Employ clamps and clips for quick securing and releasing without tools.
- Organized Storage: Label all components to simplify identification and stacking, minimizing storage space.
Frequently Asked Questions
How Do I Maintain My Recording Booth Materials Over Time?
To maintain your recording booth materials, regularly inspect for wear, clean surfaces with appropriate products, and replace damaged items. Schedule periodic checks to guarantee everything’s functioning well and acoustics remain ideal for your recordings.
Can I Use Existing Furniture for Soundproofing?
Think of your furniture as a cozy blanket for sound. Yes, you can use existing pieces to absorb noise. Sofas and thick curtains not only enhance comfort; they also work hard to improve recording quality.
What Are the Best Microphone Types for Home Studios?
For home studios, dynamic microphones are great for untreated spaces, while condensers excel in acoustically treated rooms. Consider your recording environment and needs, choosing between clarity or durability based on your projects.
How Can I Improve My Recording Space Acoustics on a Budget?
Imagine transforming your bedroom into a recording haven. To improve your acoustics on a budget, rearrange furniture to minimize sound reflections, add carpets for absorption, and hang moving blankets for effective, low-cost sound treatment.
What Common Mistakes Should I Avoid When Building a Booth?
Avoid using thin foam panels, neglecting room acoustics, and placing microphones incorrectly. Don’t ignore strategic acoustic panel placement or fail to manage recording levels; these mistakes can severely compromise your audio quality and clarity.
Conclusion
To summarize, constructing a soundproof home recording booth under $300 is not just feasible; it’s practically revolutionary.
By selecting the right materials, such as PVC pipes and moving blankets, you can create an effective sound barrier.
Whether you’re optimizing closet space or building a portable booth, every detail matters.
Combine these strategies with essential recording equipment, and you’ll transform your audio quality.
Embrace these techniques to elevate your recording experience to levels you never thought possible.