Soundproof Teenager’s Room for Drum Practice
To soundproof a teenager’s room for drum practice, start with heavy 5/8-inch drywall. For even better results, consider using two layers with mass-loaded vinyl in between to improve mass and vibration reduction.
Next, use resilient channels to decouple the walls. This will help minimize sound transmission. Additionally, mineral wool insulation is effective for enhancing sound absorption in the room.
For the ceiling, choose 5/8-inch soundproofing drywall combined with acoustic clips. This setup helps reduce noise from the drums traveling upwards.
Finally, adding thick carpets or acoustic mats on the floor will dampen high frequencies, further enhancing the room’s soundproofing. Explore additional acoustic enhancements for the best results.
As an affiliate, I may collect a share of sales or other compensation from the links on this page.
Choosing the Right Wall Construction

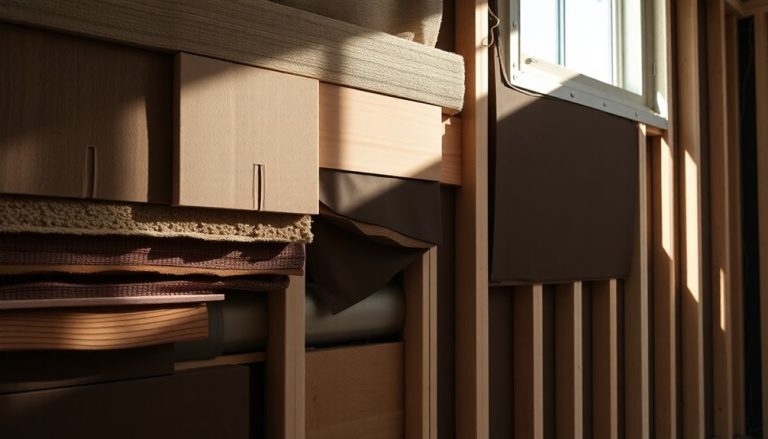
When you’re soundproofing a teenager’s room, selecting the right wall construction is crucial. Use heavier drywall, preferably 5/8 inch, as it offers increased mass and better sound blocking. For best results, consider installing two layers of 5/8 inch drywall. Incorporating mass-loaded vinyl (MLV) between these layers can greatly enhance sound isolation. Additionally, be aware that access issues can arise from specific actions performed on the site. Decoupling techniques, like resilient channels or staggered stud walls, minimize vibration transfer, improving soundproofing further. Notably, using higher mass density materials can significantly enhance the Sound Transmission Class (STC) ratings. Fill wall cavities with fiberglass or mineral wool insulation to absorb sound effectively. Finally, verify all gaps are sealed with acoustic caulk to prevent sound leaks and maximize performance.
Effective Ceiling Soundproofing Techniques
To achieve ideal soundproofing in a teenager’s room, focus on ceiling construction methods that minimize sound transmission. Use mineral wool insulation, like Rockwool SAFE N SOUND, for its density. Install mass-loaded vinyl (MLV) within ceiling layers to add mass. Opt for 5/8-inch soundproofing drywall, such as National Gypsum PURPLE Sound Break XP, for improved sound transmission class (STC) ratings. Incorporate resilient sound isolation clips to decouple drywall from joists. A room-within-a-room concept can further enhance sound isolation. Double-layer drywall with Green Glue enhances performance. Finally, seal all gaps with acoustic caulking, ensuring no sound leaks compromise your efforts in creating a quiet environment for drum practice. Soundproofing a drum room is essential to avoid noise complaints and maintain a focused practice environment.
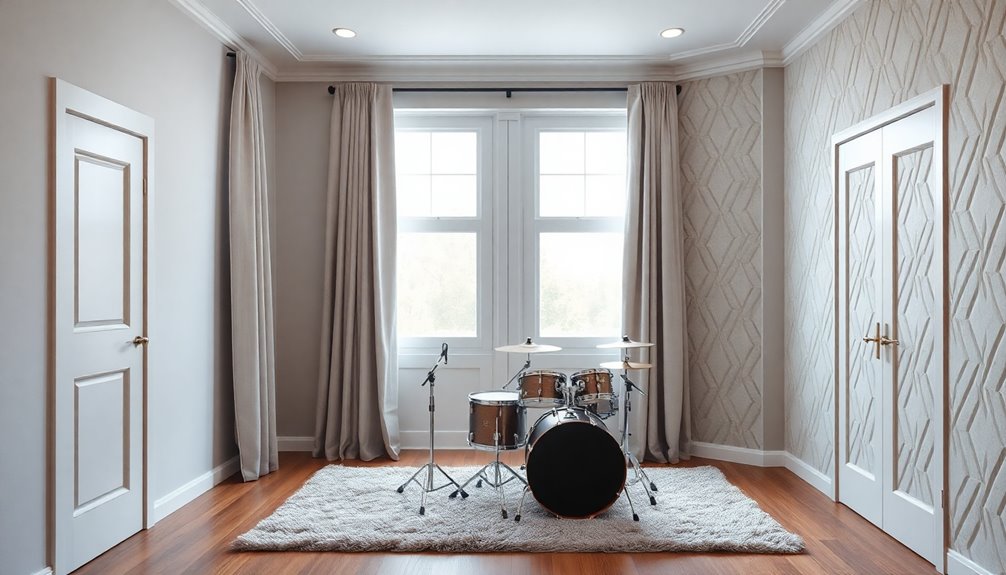
Sound-Absorbing Floor Solutions
Soundproofing a teenager’s room effectively requires attention to the floor as well.
Thick carpets or soundproof rugs dampen vibrations, particularly high-frequency cymbal noise. Acoustic mats under your drum kit enhance vibration reduction and prevent slippage.
Mass-loaded vinyl (MLV) underlayments add density, blocking low-frequency sounds and minimizing leakage. Floating floors isolate vibrations using resilient materials, reducing impact noise.
Acoustic underlayments made from foam or cork absorb sound energy, lowering resonance. Combine these solutions for best results. Additionally, maintaining proper footwear care can help prevent noise from shoes during practice sessions.
Finally, using drum mats for localized sound control helps contain noise in practice spaces. Each option contributes to a quieter, more effective environment for drumming.
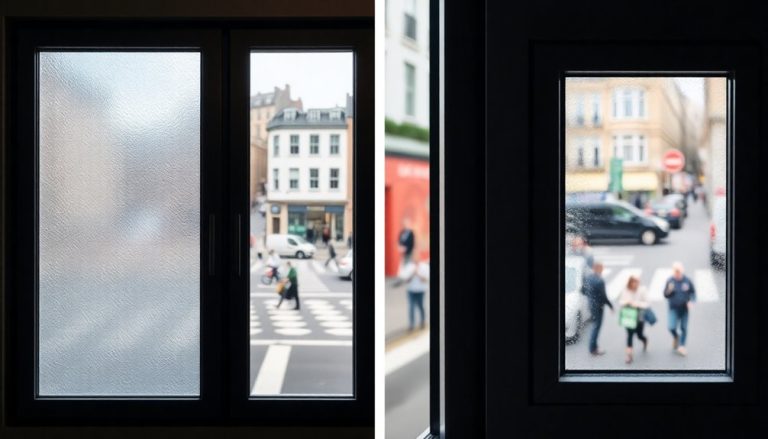
Enhancing Door and Window Sound Isolation
Enhancing door and window sound isolation is essential for creating a quiet environment, especially in a teenager’s room.
Start with solid core doors, which offer better sound isolation than hollow ones. Consider multi-layered construction for added effectiveness. Seal gaps around doors using acoustic door seal kits and rubber seals, ensuring no air passes through.
For windows, apply acoustic caulk or weatherstripping to minimize leakage. Installing secondary glazing or laminated glass can greatly boost STC ratings. Heavy curtains also help absorb sound. Additionally, using acoustic door seal kits can significantly reduce noise transfer through gaps around the door.
Finally, double doors with an air gap can enhance isolation, mimicking professional studio designs for ideal results.
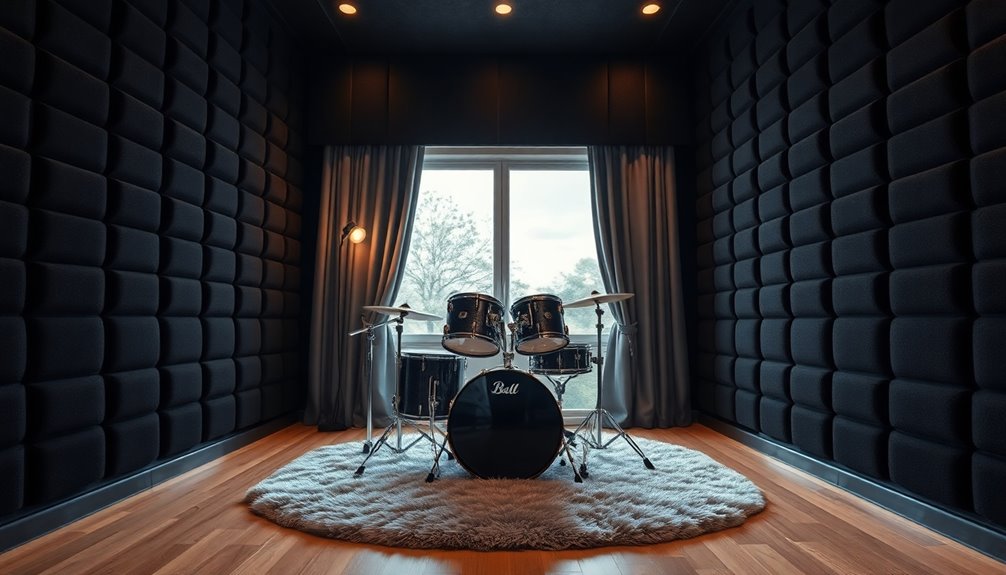
Implementing Internal Acoustic Treatment
Implementing internal acoustic treatment is essential for optimizing sound quality in a teenager’s room, particularly if it’s used for music practice or recording.
Use acoustic foam or polyester as porous absorption materials to convert sound energy into heat. Install 2-4 inch thick rockwool or fiberglass panels for effective sound dampening.
Position bass traps in corners to address low-frequency standing waves. Place acoustic panels on walls and ceilings at primary reflection points. Ascertain consistent distribution by spacing panels evenly.
Combining absorption and bass traps maximizes results, reducing excessive reverberation, echo, and resonance. This treatment enhances clarity and balance during practice sessions. Additionally, utilizing an acoustic panel calculator can help determine the optimal number of panels needed based on room dimensions and intended use.
Additional Considerations for a Drum Room
How can you effectively soundproof a drum room while ensuring ideal functionality? Start with solid-core doors, minimizing sound leakage.
Use door seals and sweeps to close gaps, enhancing airtightness. For floors, install soundproof underlayment and heavy carpets to absorb noise.
Consider a drum riser to isolate vibrations. Location matters; choose a room away from living areas, preferably on the ground floor.
Seal gaps around electrical outlets with acoustical sealant. Incorporate mass loaded vinyl in walls and use acoustical insulation for sound absorption.
Finally, add soft furnishings like heavy curtains to further dampen sound energy within the space.
Importance of Decoupling in Soundproofing
While traditional soundproofing methods often focus on adding mass or insulation, decoupling stands out as a critical technique for effective sound isolation.
Decoupling physically separates structural elements, breaking the direct path for sound transmission. This approach prevents vibrations from drumming activities from traveling through building structures.
By using resilient materials or clips to separate drywall layers from studs, you eliminate direct vibrational pathways. Air gaps between walls further weaken sound waves, forcing them to dissipate energy.
Complete decoupling guarantees no single structural element connects both sides, markedly reducing conduction-based sound transmission compared to conventional single-stud walls.
Selecting Appropriate Materials for Soundproofing
To achieve effective soundproofing in a teenager’s room, selecting the right materials is essential. Use ⅝” thick drywall for superior sound isolation. Multiple layers with Green Glue backing enhance dampening, while sealing edges with acoustic caulking prevents leaks.
For walls, install minimum 2″ thick acoustic panels on adjacent surfaces; consider 4″ panels for better performance with air gaps. Employ stone-based insulation like Rockwool for wall cavities, as it provides significant low-frequency reduction.
Finally, consider rubber underlayment for flooring to boost STC ratings, and add heavy carpeting for further sound absorption. Each material plays a vital role in optimizing your soundproofing efforts.
Setting Up an Efficient Electrical System
Setting up an efficient electrical system in a teenager’s room requires careful planning and adherence to safety standards. Start with separate 20A circuits for amplifiers and recording gear, guaranteeing ample power without overload.
Dedicate a minimum of two sockets for amplifiers and lighting, keeping them on different circuits to prevent interference. Use grounded power strips for extra outlets.
Consider heavy-duty equipment needs, isolating circuits for sensitive devices. Implement grounding techniques, like shielded cables, to reduce noise.
Finally, confirm wire gauge is adequate for long runs to maintain safe amperage, supporting a thorough drum setup without electrical issues.
Frequently Asked Questions
How Much Will Soundproofing Materials Cost on Average?
On average, soundproofing materials cost between $10 and $30 per square foot. Depending on your choices, you’re looking at a total between $1,000 to $4,300 for a fully soundproofed room, including labor.
Can I Soundproof a Room Without Construction?
Yes, you can soundproof a room without construction. Imagine hanging thick blankets, sealing gaps, and layering rugs. You’ll absorb and block noise, creating your peaceful space without the hassle of major renovations.
What Are the Best Practices for Maintaining Soundproofing?
To maintain soundproofing, regularly inspect and clean materials, guarantee airtight seals around doors, and check HVAC systems. Replace damaged insulation and avoid moisture buildup to preserve effectiveness and prevent sound leaks in your space.
How Does Soundproofing Affect Room Aesthetics?
Soundproofing enhances room aesthetics by blending functional materials with decor. You can choose stylish acoustic panels or elegant curtains that absorb sound while complementing your design, creating a visually appealing and comfortable atmosphere without sacrificing performance.
Can Plants Help With Sound Absorption in My Room?
Yes, plants can help with sound absorption in your room. They absorb noise, diffuse sound waves, and enhance air quality. By strategically placing them, you’ll create a quieter, more inviting space for relaxation or practice.
Conclusion
In conclusion, soundproofing a teenager’s room for drum practice involves strategic construction and material choices. Effective soundproofing can significantly reduce noise transmission, with studies showing reductions of up to 95%.
Start by focusing on wall construction, ceiling techniques, and floor solutions to create a solid foundation for sound isolation. Enhancing door and window isolation is also crucial for minimizing noise leakage.
Additionally, consider implementing internal acoustic treatments and decoupling methods. These strategies can further improve sound isolation and ensure a more effective practice environment.
With careful planning and execution, you can successfully balance the teenager’s practice needs with the peace of the household.