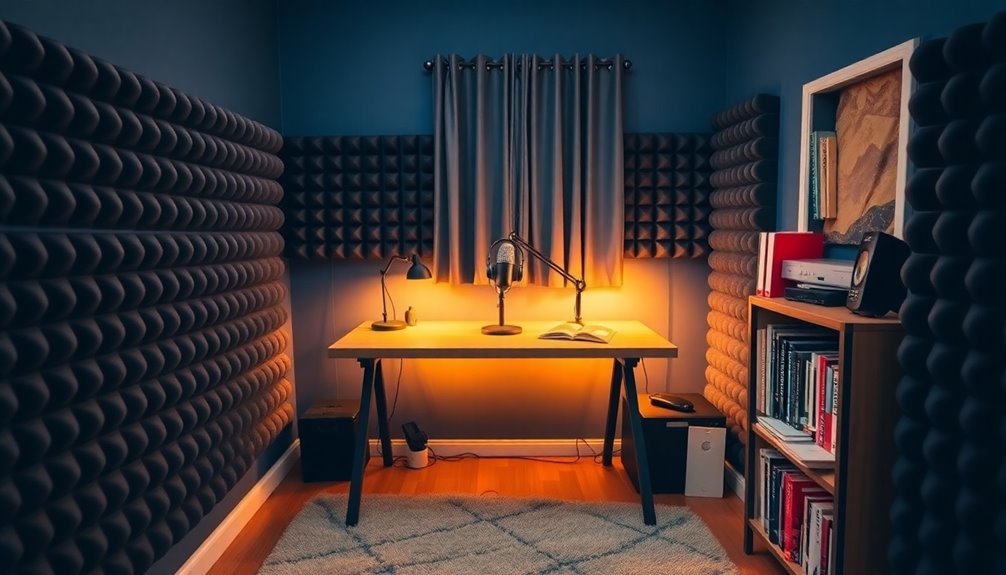
Soundproof Home Podcast Studio Under $500
To create a soundproof home podcast studio under $500, start with a dynamic microphone if your space is untreated. Alternatively, opt for a USB microphone for convenience and ease of use.
Next, consider building DIY acoustic panels. Use Rockwool insulation and cover it in breathable fabric for effective sound absorption. You can also incorporate budget-friendly sound treatment materials like egg crate foam or heavy moving blankets.
Select a small, quiet room that has soft surfaces, as this will improve sound absorption. Finally, strategically place your absorptive panels at reflection points within the room to enhance overall sound quality.
For a more optimized setup, consider exploring further details and tips tailored to your specific needs.
As an affiliate, I may collect a share of sales or other compensation from the links on this page.
Selecting the Right Microphone for Your Podcast

When choosing a microphone for your podcast, it’s essential to take into account both your recording environment and your specific needs. Dynamic microphones work well in untreated spaces, as they’re less sensitive to background noise. If you have a treated room, consider a condenser microphone for its superior detail. Professional quality enhances listener experience and can set your podcast apart. Additionally, understanding soundproofing basics can help you create an optimal recording environment. USB microphones offer easy plug-and-play setups for beginners, while XLR microphones provide higher audio quality and greater flexibility, though they require an audio interface. Handheld microphones are ideal for mobile recording. Assess your budget too; options like the Samson Q2U or Behringer XM8500 deliver quality without breaking the bank.
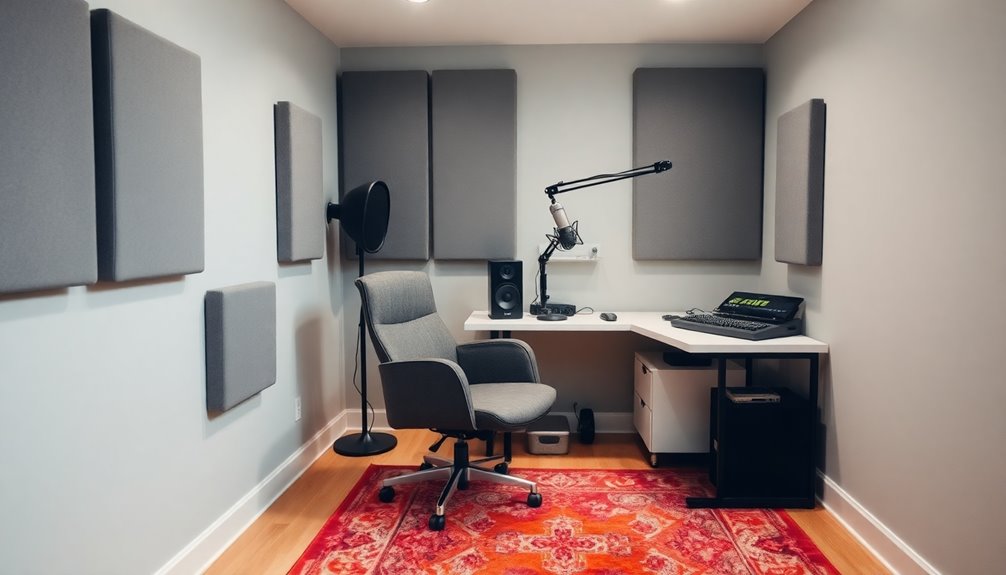
DIY Acoustic Panel Construction Techniques
Creating effective acoustic panels requires attention to detail and specific techniques for ideal sound absorption. Start by constructing sturdy frames using pine or plywood, sized to fit insulation like Rockwool Safe and Sound, commonly 15¼” x 47″. Secure corners with wood glue, screws, and clamps. Use 2–4 inches of mineral wool, ensuring it fits snugly without compression, as proper absorption strategies are essential for maximizing sound control. Additionally, these DIY acoustic panels can be created for under $20 each, making them an economical choice for soundproofing DIY acoustic panels. Cover panels with breathable fabric, like burlap, stapling it tightly to avoid wrinkles. For mounting, use picture hooks or French cleats, positioning panels at first reflection points to optimize sound reduction. Prioritize safety by wearing protective gear during construction and maintaining a clean workspace.
Budget Sound Treatment Materials to Consider
To effectively treat sound in your home studio without breaking the bank, you’ll want to explore various budget-friendly materials.
Egg crate foam reduces flutter and echo, while standard foam panels enhance sound absorption.
Consider Mass-Loaded Vinyl (MLV) for a thin barrier against airborne noise, effective in tight spaces. Heavy moving blankets serve as cost-effective sound absorbers when hung on walls or doors.
Repurpose household textiles, like curtains and comforters, for immediate improvements.
Standard acoustic panels offer options within your budget, with sizes ranging from 2’x4′ priced between $20 and $100, catering to both DIY and commercial preferences. Additionally, incorporating noise reducing curtains can further enhance sound quality and ambiance in your studio space.
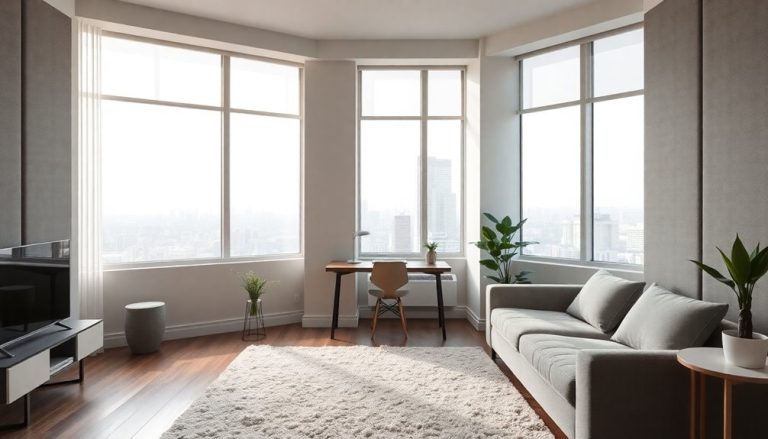
Ideal Room Selection and Preparation
Selecting the right room for your podcast studio is a fundamental step that can greatly impact sound quality. Choose a quieter area away from heavy external noise, ideally without shared walls.
Smaller, irregularly shaped rooms minimize reverb and echoes. Establish soft surfaces, like carpet or fabric furniture, absorb sound effectively. Clear unnecessary clutter to reduce reflections.
Arrange your setup centrally, avoiding reflective surfaces. Seal doors with gaskets to prevent leakage, and limit window size. Consider windows that can be covered or soundproofed.
This thoughtful selection and preparation will help create a more controlled and acoustically friendly environment for your recordings. Additionally, understanding how sound transmission works can guide your soundproofing efforts in creating an optimal recording space.
Effective Sound Treatment Application Strategies
Effective sound treatment application strategies are essential for achieving ideal audio quality in your podcast studio.
Start by placing absorptive panels at first reflection points, especially on side walls and ceilings, to reduce echo. Use bass traps in corners to manage low frequencies, ensuring clarity.
Incorporate diffusers on rear walls to maintain liveliness while scattering sound. Position rugs to absorb floor reflections.
Consider DIY solutions like blankets or curtains for budget options. Monitor your microphone placement carefully to minimize reflective paths. Additionally, using Noise Reduction Coefficient (NRC) ratings can help you select materials that effectively absorb sound.
Regularly assess room response with test sounds to optimize your treatment strategy for the best acoustic results.
Additional Acoustic Considerations for Optimal Recording
While achieving ideal recording quality often involves treating sound reflections, several other acoustic considerations can greatly enhance your podcast studio.
Monitor Placement: Position your speakers at ear level, angled towards your head, forming an equilateral triangle with your listening position. This setup minimizes reflected sound.
Room Size Management: Cover 30-40 percent of smaller rooms with diffusion for a spacious feel.
First Reflection Points: Install acoustic panels where direct sound reflects before reaching you.
Furniture Integration: Utilize bookshelves and soft furnishings to absorb sound.
Microphone Technique: Close-miking reduces room reflections, improving audio clarity and preserving tone.
Maximizing Your Budget for Soundproofing Solutions
Maximizing your budget for soundproofing solutions requires strategic planning and resourcefulness.
Start with DIY acoustic panels; they save money compared to pre-made options and use basic tools like a saw and staple gun.
Consider Mass-Loaded Vinyl (MLV) for effective noise reduction, layering it behind panels for better soundproofing without high costs.
Seal gaps with weatherstripping and caulk to prevent noise leaks, particularly around outlets.
Use affordable rugs for floor treatment and acoustic panels on ceilings to address reverb.
Finally, opt for double-layer drywall for superior sound blocking; it’s an efficient way to enhance your studio’s acoustic performance.
Frequently Asked Questions
How Can I Reduce Background Noise in My Recordings?
To reduce background noise in your recordings, use acoustic treatments like foam panels and heavy curtains, position your microphone close, eliminate noisy electronics, and apply noise reduction plugins during editing for cleaner audio.
What Are the Best Audio Editing Software Options for Beginners?
Did you know 70% of beginners prefer free software? For audio editing, try Audacity, GarageBand, or Ocenaudio. They offer user-friendly interfaces and essential features, perfect for honing your skills without breaking the bank.
Do I Need Headphones While Recording My Podcast?
Yes, you need headphones while recording your podcast. They help you monitor audio quality, prevent feedback, and guarantee you hear exactly what your audience will. They’re essential for improving your overall podcasting experience.
How Do I Test My Room’s Acoustics Effectively?
Wondering how to test your room’s acoustics effectively? Start by clapping or bursting a balloon to hear reflections. For detailed analysis, use software like Room EQ Wizard to assess reverberation and frequency response accurately.
Can I Use My Phone for Recording Podcasts?
Yes, you can use your phone for recording podcasts. With the right apps and external microphones, you’ll capture clear audio. Just make sure you’re in a quiet space to minimize background noise for the best results.
Conclusion
In summary, creating a soundproof podcast studio under $500 is achievable with careful planning and resource selection.
Investing in the right microphone enhances audio clarity, while DIY acoustic panels can remarkably reduce unwanted noise.
Choosing an ideal room is also crucial, as it maximizes your sound treatment efforts and makes a perceptible difference in your recordings.
By applying effective sound treatment strategies, you can achieve professional-quality recordings without breaking the bank.
Balancing cost and performance ensures your podcast stands out in a crowded market.