How Long Does It Take to Soundproof a Room DIY
Soundproofing a room DIY can take anywhere from a few days to a couple of weeks. The exact duration depends on several key factors, including the size of the room, the complexity of the layout, and the materials you choose to use.
For instance, basic tasks like sealing doors and windows typically require less time. However, more involved processes, such as installing acoustic panels and drywall, may extend the overall timeline.
Additionally, certain materials, like Green Glue, require up to 30 days to cure completely. By understanding these details, you can better gauge the time needed for your project and gain valuable insights for effective execution.
As an affiliate, I may collect a share of sales or other compensation from the links on this page.
Factors Influencing Soundproofing Duration
When soundproofing a room, several key factors influence the duration of the project.
Room size matters; larger spaces require more time due to increased surface area. Additionally, insulation installation is crucial to the process and can add significant time if not planned effectively. Complex layouts, like open-concept designs with multiple corners, complicate installation. Existing structural elements, such as pipes and HVAC systems, also necessitate careful planning. Material selection impacts timelines; for instance, high-density concrete blocks require proper mounting, while double-layer drywall needs extended curing times. Effective sound insulation can enhance comfort, as concrete provides partial sound insulation and can significantly reduce airborne noise. Noise source assessment is essential, as identifying weak points influences treatment priorities. Each of these factors contributes considerably to the overall duration of your soundproofing efforts.
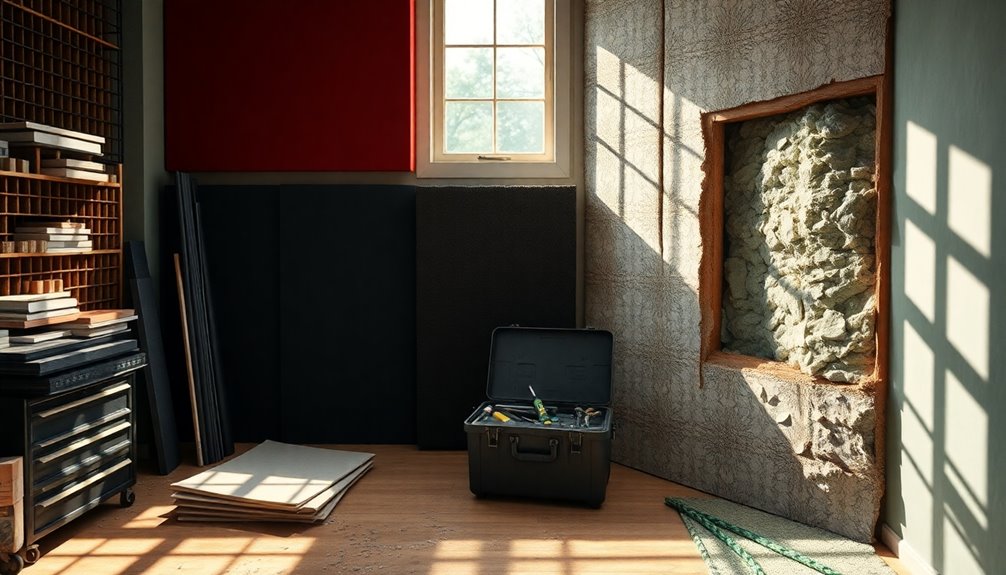
Basic Door and Window Sealing
To effectively reduce noise transmission, sealing gaps and cracks around doors and windows is essential.
Use acoustic caulk for stationary gaps around frames; it remains flexible, absorbing vibrations. For operable doors and windows, apply weatherstripping tape or foam strips, which compress and seal when closed, blocking drafts and noise. Additionally, ensure that you are focused on sealing air gaps as this is crucial for preventing both sound and air passage. Properly installed acoustic door seals can significantly enhance your soundproofing efforts. Fill larger cracks with acoustic expanding foam to prevent sound leaks. Install acoustic door sweeps at the bottom of doors to eliminate gaps, and consider threshold seals for improved airtightness.
Consistent sealing around all edges is imperative, making this step both cost-effective and essential for successful DIY soundproofing.
DIY Acoustic Panel Installation
Installing DIY acoustic panels can greatly enhance sound quality in any room. Start with 1-inch furring strips to create a lightweight frame. Use Rockwool Safe and Sound for insulation, securing it with wood glue and screws. Once assembled, cover the frame with breathable fabric to improve sound absorption. For mounting, consider methods like impaling clips or Z-clips, ensuring secure installation. Pre-drill holes for accurate placement. Each panel takes about 1–3 hours to build, and wall mounting typically requires under 30 minutes. Remember to allow 12–24 hours for adhesive curing before disturbing the panels for ideal performance. Additionally, using dense, multi-layered fabrics in your acoustic panels can further enhance sound absorption.
Mass Addition With Drywall Installation
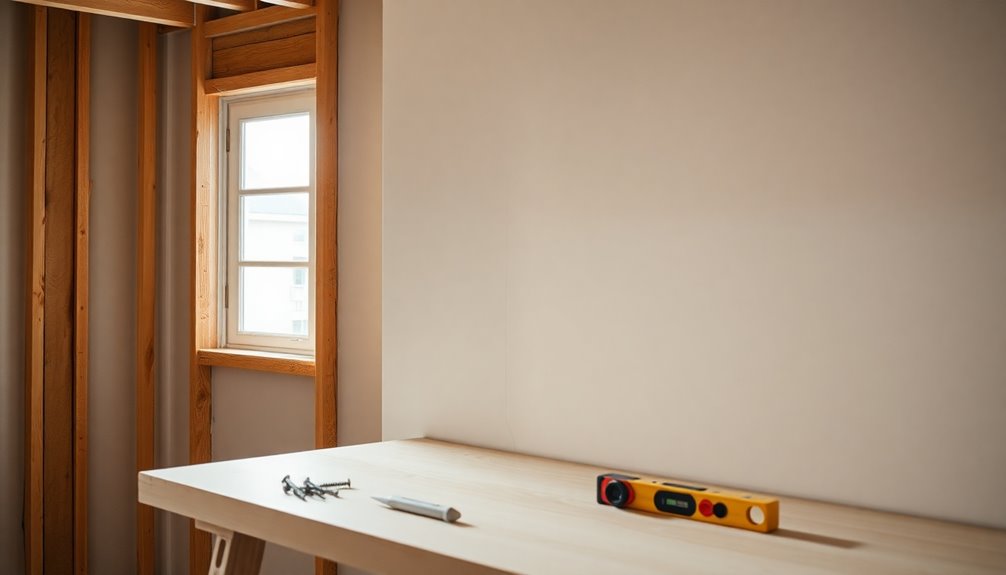
Mass addition through drywall installation is an effective method for enhancing soundproofing in a room.
To achieve optimal outcomes, follow these steps:
- Measure and cut drywall accurately, ensuring tight fits and minimal waste.
- Secure drywall sheets with screws every 16 inches, and consider applying acoustic sealant between layers.
- Offset seams when adding additional layers to prevent sound leaks.
Preparing electrical fixtures and ensuring structural support for the extra weight are essential.
Keep in mind, sealing all seams is critical for blocking sound leakage and improving the overall acoustic performance of your space. Additionally, using mass-heavy materials like multiple layers of drywall can significantly enhance sound insulation.
Dense Material Application
When considering soundproofing your room, dense material application greatly enhances acoustic performance. Mass Loaded Vinyl (MLV) blocks airborne noise effectively, thanks to its high mass. You can install MLV on walls or ceilings, cutting it to fit your space.
Dense mineral wool provides sound absorption while offering fire resistance. It fits snugly within wall cavities, improving overall soundproofing.
Cement fiberboard, denser than chipboard, reflects sound waves and adds additional reduction. High-density acoustic plasterboard further enhances performance, incorporating foam layers for better isolation. Additionally, proper maintenance of moving parts in your soundproofing materials can significantly improve their effectiveness over time.
Each material’s installation time varies, usually taking several hours to a couple of days, depending on complexity.
Complete Room Soundproofing Overview
To effectively soundproof a room, you’ll need a thorough approach that covers assessment, preparation, framing, insulation, and sealing.
Start by identifying noise sources and weak points, then prepare the space by clearing furniture and sealing gaps.
Here are three critical steps:
- Framing and Decoupling: Build new stud frames or add resilient channels to enhance isolation.
- Insulation and Absorption: Fill cavities with high-density insulation for maximum sound absorption.
- Sealing and Finishing: Seal all seams and install multiple drywall layers with damping compounds to complete the soundproofing process.
Curing Times Impacting Project Length

Curing times greatly impact your overall soundproofing project length.
For instance, Green Glue typically needs up to 30 days to fully cure before you realize ideal soundproofing benefits. While you might notice improvements within hours, full effectiveness requires patience.
Factors such as climate, humidity, and temperature can influence curing duration. If you disturb the material during this period, you risk compromising the bond and damping capabilities.
Furthermore, scheduling future construction steps must accommodate this curing time. Failing to respect these timelines can lead to delays and reduced soundproofing performance, ultimately prolonging your entire project.
Planning for Accessibility and Material Availability
Understanding the importance of accessibility and material availability is essential for effective soundproofing. Incorporating these factors guarantees compliance with regulations and meets diverse user needs.
Consider these key aspects:
- Material Options: Identify affordable, locally available soundproofing materials like panels and barriers, which enhance project feasibility.
- Accessibility Standards: Follow guidelines like the Equality Act to guarantee acoustic solutions benefit all users, including those with sensory challenges.
- Logistical Planning: Assess compatibility with existing structures to streamline installation and enhance sound isolation.
Estimating Total Project Timeline
When estimating the total project timeline for soundproofing a room, several factors come into play that can greatly affect your schedule.
The room size notably impacts time; small rooms may take 1-3 days, while large ones could require 5-7 days or longer.
The complexity of methods, like adding insulation and double drywall, can extend your timeline by days.
Labor skill level also matters; beginners might need an extra 2-3 days.
Don’t forget drying times for materials, which can add 1-2 days.
Finally, unforeseen issues can delay progress by 1-3 days, so factor in flexibility for adjustments.
Frequently Asked Questions
Can I Soundproof a Room Without Professional Help?
Yes, you can soundproof a room without professional help. By using cost-effective materials and DIY methods, you’ll achieve noticeable noise reduction while saving money and time. Just plan carefully and follow installation guidelines for best results.
What Tools Do I Need for DIY Soundproofing?
You’ll need a drill, drywall saw, caulk gun, stud finder, level, tape measure, and safety gear like masks and gloves. Don’t forget screws, clamps, and an acoustic damping compound for effective soundproofing!
Are There Budget-Friendly Soundproofing Materials Available?
Yes, there are budget-friendly soundproofing materials available. You can use foam bedding toppers, heavy blankets, weatherstripping, and mass loaded vinyl to effectively reduce noise without breaking the bank. Get creative with your solutions!
How Do I Know if My Room Needs Soundproofing?
You’ll know your room needs soundproofing if you hear loud external noises, experience echoes, or notice sound leaking between rooms. Check for gaps, thin walls, and vibrations that disrupt your peace and privacy.
Can Soundproofing Improve My Room’s Aesthetics?
Soundproofing can transform your room into an acoustic paradise while boosting its visual appeal. By integrating stylish acoustic panels, elegant curtains, and textured rugs, you’ll create a stunning space that’s both serene and stylish.
Conclusion
In conclusion, soundproofing a room can vary greatly in time based on the methods you choose. Basic sealing typically takes less time, while adding mass with drywall can extend the project duration.
Each step, from acoustic panel installation to material curing, influences the overall timeline. It’s important to consider the accessibility of materials and their availability as this can impact your schedule.
Ultimately, balancing your approach will determine how efficiently you achieve a quieter space. With careful preparation, you can streamline the process and enhance your results.


