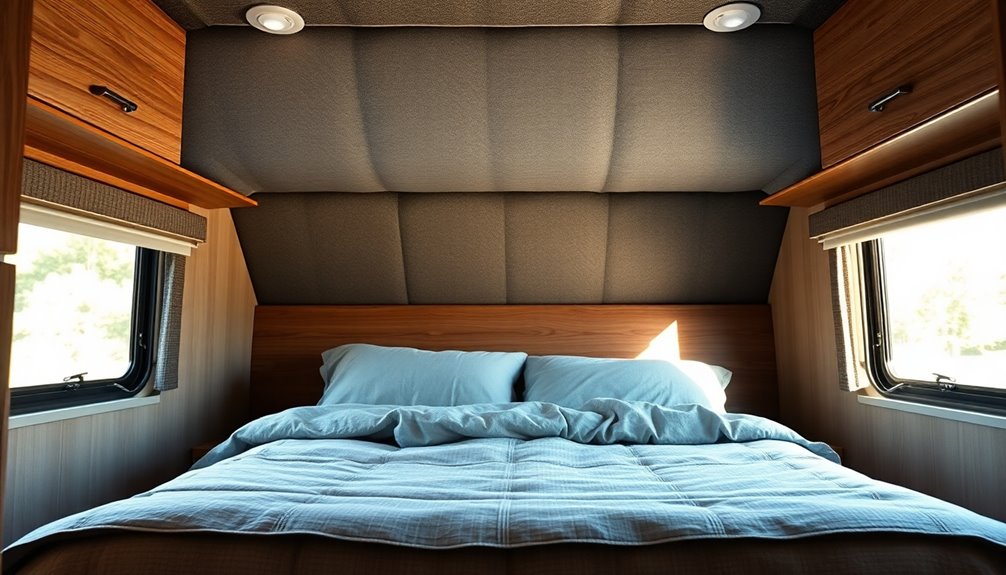
DIY Soundproof RV Bedroom While Traveling
To DIY soundproof your RV bedroom while traveling, start by identifying noise sources, such as engine noise and external sounds. This will help you determine the best approach for soundproofing.
Next, gather essential materials like Mass-Loaded Vinyl barriers and acoustic foam panels. These items are effective for sound reduction and will significantly improve your sleeping environment.
When applying sound deadening mats, begin by cleaning the surfaces thoroughly. Measure the areas you need to cover and cut the mats accordingly, as proper coverage enhances their efficacy.
For additional sound dampening, consider insulating the walls with mineral wool or fiberglass insulation. This extra layer can make a noticeable difference in reducing noise.
Lastly, maintain your soundproofing setup by regularly inspecting all components and seals. This will ensure ongoing effectiveness and a peaceful sleeping environment while on the road. More detailed methods will follow.
As an affiliate, I may collect a share of sales or other compensation from the links on this page.
Identifying Noise Sources in Your RV Bedroom

When you’re trying to create a peaceful sleeping environment in your RV bedroom, it’s essential to pinpoint the various noise sources that can disrupt your rest.
Engine noise, primarily from heavy-duty engines and accessories, generates significant disruptions.
Transmission vibrations transmit through the structure, while hydraulic systems create continuous operational sounds.
Air conditioning units add to the noise, especially with multiple units running. Additionally, regular maintenance of these units can help minimize their operational noise levels.
Structural vibrations from loose fixtures, such as bathroom doors and skylight covers, contribute further. Notably, vibration data collection helps in understanding the impact of these noise sources on your comfort.
External noise from tire friction and wind also impacts your comfort.
Identifying these sources is vital for effective soundproofing solutions.
Essential Soundproofing Materials for a Peaceful Sleep
Creating a soundproof RV bedroom hinges on selecting the right materials that effectively block and absorb noise. Mass-Loaded Vinyl (MLV) barriers add density to walls, minimizing sound wave transmission. Acoustic foam panels, available in melamine and polyurethane, absorb noise and reduce echo, contributing to a higher NRC (Noise Reduction Coefficient) rating. Rigid foam insulation boards provide both insulation and sound dampening, essential for moisture-prone areas. Sealing and weatherstripping materials prevent sound leakage around windows and doors, creating airtight seals. Finally, soft furnishings like curtains and rugs enhance sound absorption, contributing to a quieter environment. Each material plays an essential role in achieving a peaceful sleep during your travels, and incorporating soundproofing solutions can further elevate your comfort levels.
Step-by-Step Guide to Applying Sound Deadening Mats
Applying sound deadening mats in your RV bedroom can greatly enhance your travel experience by minimizing noise.
Start by cleaning surfaces with isopropyl alcohol, removing dirt, dust, and old adhesives. Once dry, measure areas like doors and walls accurately.
Cut mats with a utility knife to fit these dimensions, ensuring coverage around curves. Peel the adhesive backing and position the mat, smoothing it from the center outward to eliminate air bubbles. Use a roller tool for firm adhesion.
Aim for 25–50% coverage on each panel for effective sound reduction, prioritizing flat steel surfaces where vibration is most noticeable. Additionally, consider using sound damping materials as an extra layer of protection against noise in your RV bedroom.
Enhancing Insulation in Walls and Ceilings
To improve soundproofing in your RV, consider enhancing the insulation in walls and ceilings.
Use mineral wool, which boasts an NRC of 0.95–1.00, for superior sound absorption. Alternatively, fiberglass insulation, with an NRC of 0.90–0.95, provides solid thermal and acoustic benefits.
For budget options, spray foam offers an NRC of around 0.70. Rigid foam boards are durable and lightweight, providing decent thermal insulation.
Combine these materials, like mass-loaded vinyl (MLV) for sound blocking, to target different frequencies. Additionally, mineral wool is considered an excellent soundproofing material due to its dense composition and open fiber matrix.
Guarantee a snug fit during installation, sealing seams with heat-resistant foil tape for peak performance and noise reduction.
Sealing Gaps and Cracks for Maximum Sound Reduction
Sealing gaps and cracks is essential for maximizing sound reduction in your RV bedroom. Sound easily leaks through small openings, so inspect areas like window frames, door perimeters, and floor-to-wall junctions.
Use acrylic or silicone caulk for small gaps, as it remains flexible and water-resistant. For larger openings, consider butyl tape or expanding spray foam. Weatherstripping effectively seals doors and windows.
Apply sealants carefully, ensuring complete coverage for peak performance. Check your seals annually, replacing worn materials as needed. Additionally, using acoustic sealant can significantly enhance your soundproofing efforts by preventing sound leakage through the smallest gaps.
Utilizing Acoustic Treatments for Improved Sound Quality
How can you effectively enhance sound quality in your RV bedroom?
Start by installing acoustic foam panels on walls and ceilings to absorb mid to high-frequency sounds, reducing echo.
Consider adding Mass Loaded Vinyl barriers for dense mass, blocking sound transmission. Use sound-deadening mats to minimize vibrations from metal surfaces.
Acoustic blankets provide flexible absorption options, and fabric-wrapped panels combine aesthetics with functionality.
Make sure you mount these treatments on reflective surfaces to maximize effectiveness.
Finally, maintain ventilation while applying these materials to improve air quality, making certain your acoustic treatments work effectively in your mobile environment.
Maintenance Tips for Sustaining Soundproofing Effectiveness
Maintaining the soundproofing effectiveness of your RV bedroom is essential for a comfortable travel experience.
Regularly tighten nuts and bolts on rooftop units like A/C to prevent noise from vibrations. Inspect weatherstripping around doors and windows; replace any cracked or missing sections. Check insulation materials for wear and moisture damage, ensuring they remain intact.
Use rubber pads to cushion vibrating parts and minimize noise generation. Routinely monitor equipment for increased noise, replacing noisy components when necessary.
Frequently Asked Questions
How Long Does Soundproofing Installation Typically Take in an RV Bedroom?
Soundproofing installation in an RV bedroom typically takes 4 to 8 hours for basic coverage. If you’re handling more complex tasks, like doors and windows, expect it to take 1 to 2 full days.
Can I Soundproof My RV Bedroom on a Budget?
You can soundproof your RV bedroom on a budget; studies show effective soundproofing can reduce noise by up to 30%. Use affordable materials like moving blankets, weatherstripping, and acoustic panels for maximum impact without breaking the bank.
What Are the Best DIY Soundproofing Materials Available?
You can use butyl sound-deadening mats, mass-loaded vinyl, mineral wool, and acoustic panels for effective DIY soundproofing. Adding caulk for sealing gaps and soundproof curtains will further enhance your noise reduction efforts.
Are There Any Soundproofing Solutions That Are Removable?
Sure, you might think soundproofing has to be permanent, but there are plenty of removable solutions. Consider using Mass Loaded Vinyl, acoustic panels, or soundproof curtains, all of which you can easily install and remove.
How Do I Know if My Soundproofing Is Effective?
You can know your soundproofing’s effective by measuring decibel levels before and after installation. Use a sound meter app, compare readings, and ascertain consistent testing conditions to see how much sound reduction you’ve achieved.
Conclusion
In summary, effectively soundproofing your RV bedroom enhances your travel experience. Studies show that noise levels above 70 decibels can considerably disrupt sleep quality.
By identifying noise sources, applying sound deadening mats, and sealing gaps, you can significantly reduce disturbances.
Utilizing acoustic treatments further improves sound quality within your space. Regular maintenance guarantees long-lasting effectiveness.
By investing in these soundproofing techniques, you can create a serene environment that allows you to rest better while on the road.