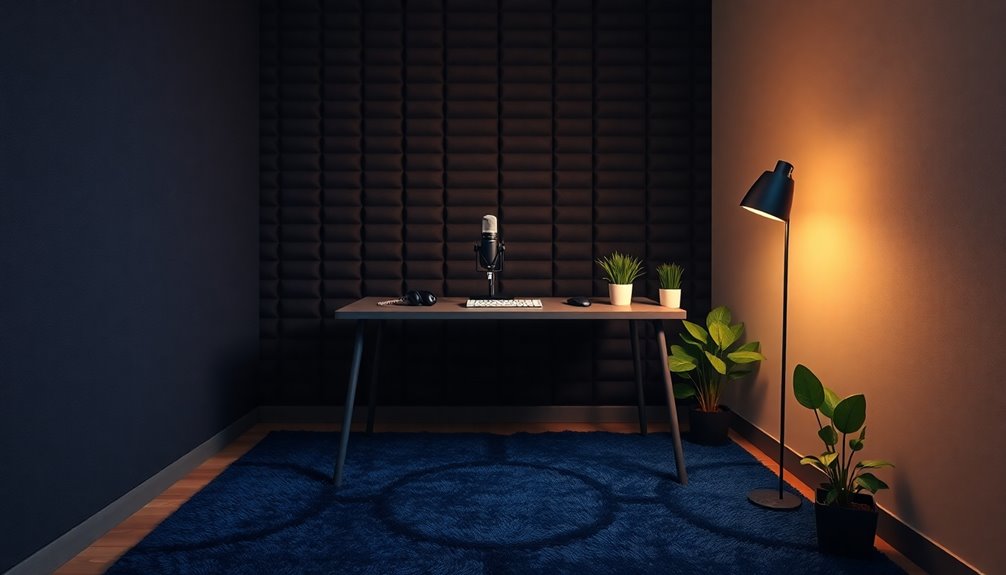
Soundproof Corner for Youtube Videos DIY
To create a soundproof corner for your YouTube videos, start by incorporating corner bass traps made from 3-4 inch thick mineral wool or fiberglass insulation.
Construct a sturdy frame using 2×4 lumber, ensuring it stands 47” high for optimal absorption. Once your traps are built, cover them with acoustically transparent fabric to maintain aesthetics while enhancing sound quality.
Next, identify reflection points by using the mirror trick. This technique will help you pinpoint where to hang acoustic panels for improved clarity in your recordings.
Additionally, consider using dense materials like double drywall and Rockwool on the back wall to achieve better sound isolation.
There’s more essential information to weigh as you plan your soundproofing setup.
As an affiliate, I may collect a share of sales or other compensation from the links on this page.
Importance of Corner Bass Traps
When you set up your recording space, understanding the role of corner bass traps is vital for achieving ideal sound quality.
Bass frequencies accumulate in corners due to sound wave reflections from walls and ceilings, creating amplified low-frequency energy. This buildup can lead to a boomy or muddy sound in your recordings. Corner bass traps absorb this concentrated energy, improving sound balance.
They effectively address multiple surface reflections simultaneously, making them a practical choice. However, remember that bass modes exist throughout the room, so consider additional treatments beyond corners for thorough low-frequency control. Proper placement and quantity are essential for maximum effectiveness. Additionally, utilizing tuned bass traps can enhance absorption efficiency for specific frequencies, further refining your recording environment.
Materials Needed for DIY Bass Traps
Creating effective DIY bass traps requires a selection of specific materials that contribute to sound absorption and overall structural integrity.
For ideal performance, focus on the following:
- Core Insulation Materials: Use mineral wool or fiberglass insulation, with a thickness of 3 to 4 inches and a density of 3–4 lb/ft³ for effective low-frequency absorption. Mineral wool is known for its excellent soundproofing capabilities, making it a top choice for bass traps.
- Frame Construction Materials: Build frames from 2×2 or 2×4 lumber, using plywood for stability. Additionally, consider using bass traps that measure 4 feet tall for enhanced sound absorption capabilities.
- Covering and Fabric Materials: Employ acoustically transparent fabric like burlap, ensuring a tight fit for sound absorption.
These materials will enhance your bass traps, improving your audio quality considerably.
Step-by-Step Construction of Corner Bass Traps
Building corner bass traps involves a series of precise steps that guarantee optimal sound absorption in your recording space. Start by cutting 2×4 or 1×4 lumber to your desired dimensions, typically 47” x 24”. Assemble the frame with wood screws, ensuring right angles. Sand all edges for a smooth finish.
Next, cut rigid insulation into triangular shapes to fit snugly within the frame. It’s important to choose Rockwool or Hemp insulation for effective sound absorption. Sound dampening techniques can significantly enhance the overall acoustic performance of your recording environment. Attach backing fabric using staples, ensuring it’s taut. Wrap the front with acoustically transparent fabric, securing it tightly.
Finally, mount the traps using L-brackets, anchoring them securely in the corners for maximum stability and performance.
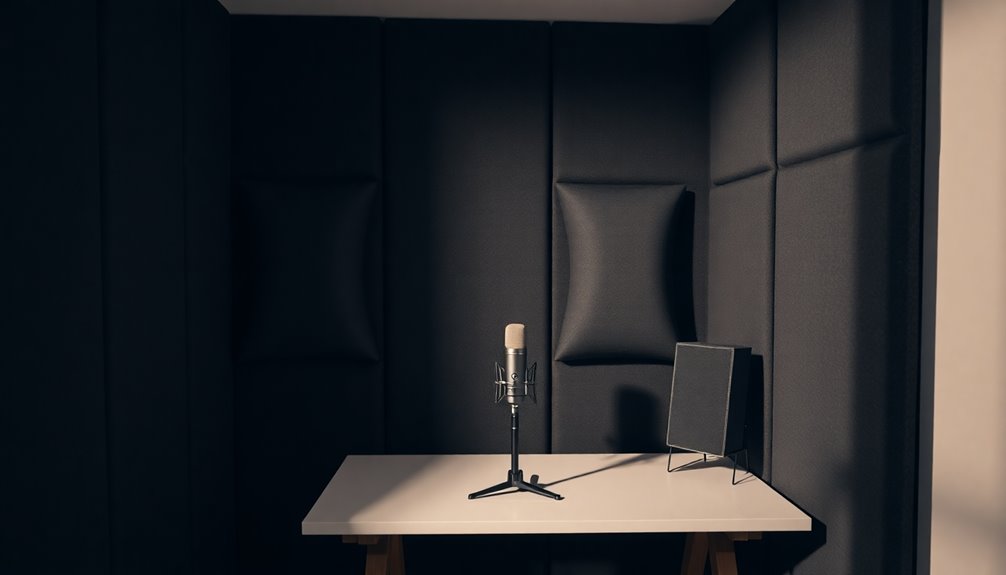
Setting Up a Reflection Free Zone
Setting Up a Reflection Free Zone
Setting up a Reflection Free Zone (RFZ) is essential for achieving ideal audio clarity in your YouTube videos. An RFZ minimizes early sound reflections, ensuring clearer sound.
To establish an effective RFZ, follow these steps:
- Identify first reflection points using the mirror trick to locate side wall and ceiling reflections.
- Hang acoustic panels at marked points to absorb these reflections, targeting significant frequencies.
- Position your listening area centrally to enhance sound balance and stereo imaging.
These measures enhance sound localization, improve clarity, and reduce comb filtering, vital for professional-quality audio in your recordings. Additionally, consider adding mass to your door to further reduce external noise interference.
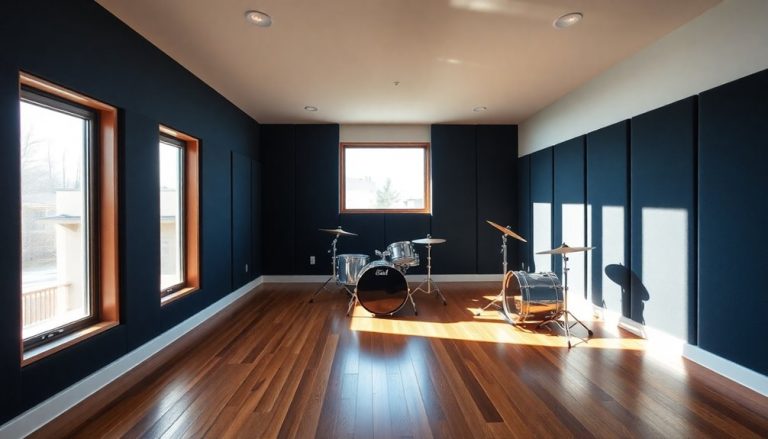
Treating the Back Wall for Optimal Sound
When optimizing sound quality for your YouTube videos, treating the back wall of your recording space is essential.
Start with dense materials like concrete or brick, achieving high STC ratings over 50. Consider double drywall layers of 5/8 inch with Green Glue for STC 50–55.
Add Mass Loaded Vinyl (MLV) behind drywall for an extra 15–20 dB reduction. Use Rockwool insulation, ideally 3–4 inches thick, to enhance sound absorption.
Implement decoupling techniques, like resilient channels, to lower sound transmission. Finally, seal all gaps with acoustic caulk to maintain airtightness, ensuring supreme sound isolation and clarity for your recordings. Additionally, incorporating cement boards can provide effective soundproofing due to their density and mass, further reducing noise levels in your recording environment.
Best Practices for Enhanced Soundproofing
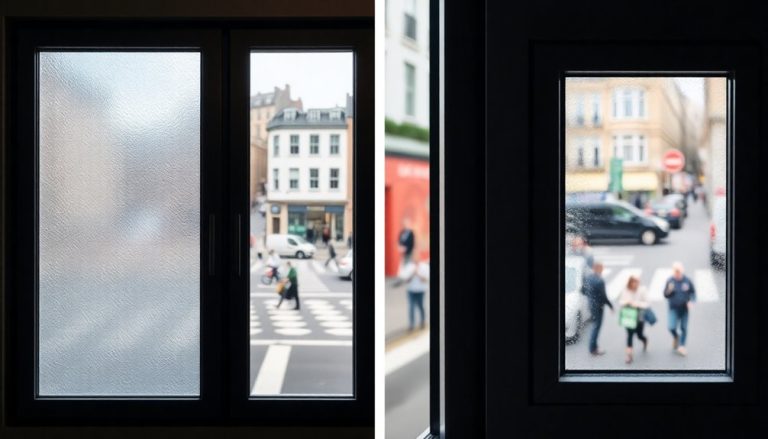
Achieving superior soundproofing for your YouTube videos requires a multi-faceted approach that combines mass addition, air sealing, decoupling techniques, insulation, and upgraded windows and doors.
- Increase wall mass with dense materials, such as concrete or multiple drywall layers, to markedly reduce sound transmission.
- Seal all gaps around doors and windows using acoustic caulk to prevent sound leaks.
- Implement decoupling techniques, like using isolation clips, to minimize sound transfer between walls.
These best practices guarantee an effective soundproof corner, leading to higher audio quality in your videos.
Frequently Asked Questions
How Much Do DIY Bass Traps Cost Compared to Store-Bought Options?
DIY bass traps typically cost around $20 each, considerably less than commercial options, which can be three to four times that. You save money while achieving similar sound absorption performance with proper materials and construction.
Can I Paint My Bass Traps Without Affecting Their Performance?
You can paint your bass traps without greatly affecting performance, but be cautious. A thin, even coat preserves acoustic integrity. Avoid heavy applications, which might reduce high-frequency absorption. Test a small area first to verify satisfactory results.
How Do I Maintain My Acoustic Panels Over Time?
To maintain your acoustic panels, vacuum them regularly, wipe with a damp microfiber cloth, and inspect for damage. Treat stains promptly, and deep clean every few months to keep them performing well.
What Types of Fabric Are Best for Covering Bass Traps?
For covering bass traps, use durable fabrics like Guilford of Maine FR701 for its acoustic transparency and fire resistance. Alternatively, consider breathable burlap or cotton scrim for good sound absorption and aesthetic appeal.
Can I Use Bass Traps Outdoors for Sound Absorption?
Imagine trying to catch raindrops with a sieve; that’s what using bass traps outdoors feels like. They won’t absorb sound effectively outside, as they’re designed for enclosed spaces, not open environments. Stick to outdoor solutions instead.
Conclusion
In summary, creating a soundproof corner for your YouTube videos enhances audio quality considerably. By installing bass traps, setting up a reflection-free zone, and treating your back wall, you can effectively reduce unwanted noise.
These improvements lead to enhanced clarity, minimized echoes, and a more professional sound overall. Implement these techniques diligently, and your home studio will foster an excellent recording environment.
Prioritize quality materials and precise installation to ensure that your efforts yield the best results for your content creation.